メインコンテンツにスキップ

Acer Aspire 5517-1127 Disk Drive Replacement

必要な工具と部品

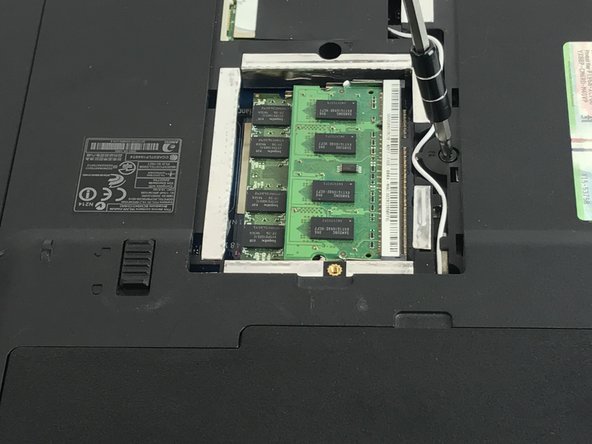
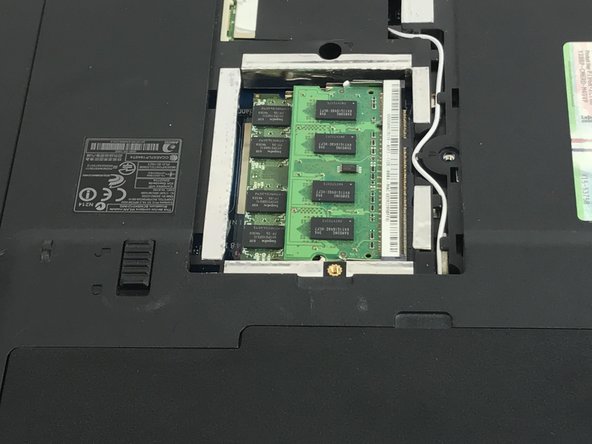
  1. Acer Aspire 5517-1127 Disk Drive Replacement, Disk Drive: 手順 1、 2の画像 1 Acer Aspire 5517-1127 Disk Drive Replacement, Disk Drive: 手順 1、 2の画像 2
    • Orient the laptop so that its upside down facing away from you.

    • The screw is at the bottom of the RAM panel.

  2. Acer Aspire 5517-1127 Disk Drive Replacement: 手順 2、 2の画像 1 Acer Aspire 5517-1127 Disk Drive Replacement: 手順 2、 2の画像 2
    • Using a Phillips screwdriver (PH1), unscrew the screw from the panel.

    • Pull the panel away from the device as shown.

  3. Acer Aspire 5517-1127 Disk Drive Replacement: 手順 3、 3の画像 1 Acer Aspire 5517-1127 Disk Drive Replacement: 手順 3、 3の画像 2 Acer Aspire 5517-1127 Disk Drive Replacement: 手順 3、 3の画像 3
    • The screw to the right of the inner RAM casing is shown.

    • Using the same Phillips screwdriver (PH1), unscrew the screw.

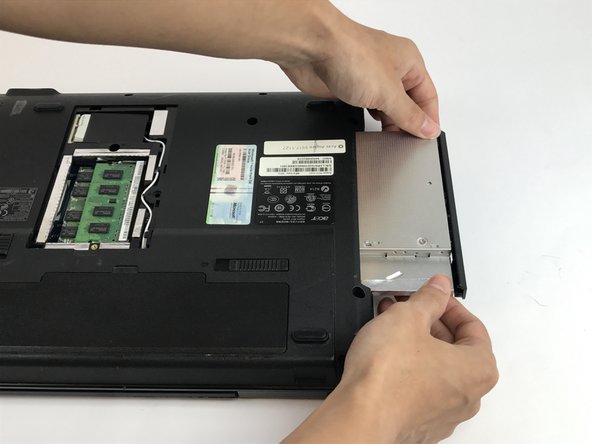
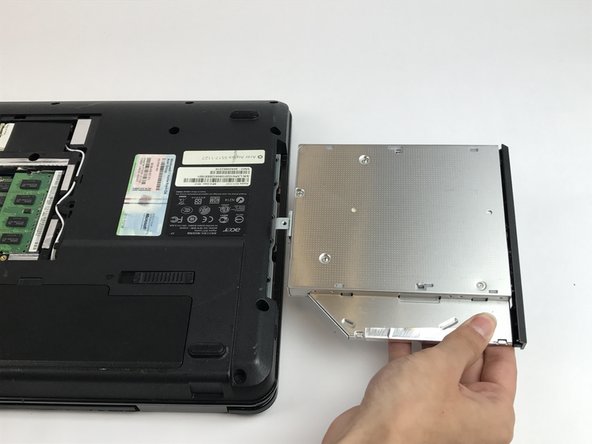
  4. Acer Aspire 5517-1127 Disk Drive Replacement: 手順 4、 3の画像 1 Acer Aspire 5517-1127 Disk Drive Replacement: 手順 4、 3の画像 2 Acer Aspire 5517-1127 Disk Drive Replacement: 手順 4、 3の画像 3
    • Gently push the disk drive away from the device as demonstrated.

    • The disk drive will come out with the screw removed from the RAM casing.

終わりに

To reassemble your device, follow these instructions in reverse order.

ある他の人がこのガイドを完成しました。

作成者

1人の作成者と共同作成されました。

Christopher Newkirk

メンバー登録日: 02/02/17

509 ポイント

4のガイドは作成済み

チーム

USF Tampa, Team 17-1, Blackwell Spring 2017 USF Tampa, Team 17-1, Blackwell Spring 2017人のメンバー

USFT-BLACKWELL-S17S17G1

4 メンバー

5のガイドは作成済み

0 件のコメント

コメントを追加

統計データ:

過去 24時間: 0

過去 7 日: 2

過去 30 日: 8

今までの合計 351