メインコンテンツにスキップ

Acer Aspire 3 A315 Screen Replacement

必要な工具と部品

  1. Acer Aspire 3 A315 Screen Replacement, Removing the cover: 手順 1、 3の画像 1 Acer Aspire 3 A315 Screen Replacement, Removing the cover: 手順 1、 3の画像 2 Acer Aspire 3 A315 Screen Replacement, Removing the cover: 手順 1、 3の画像 3
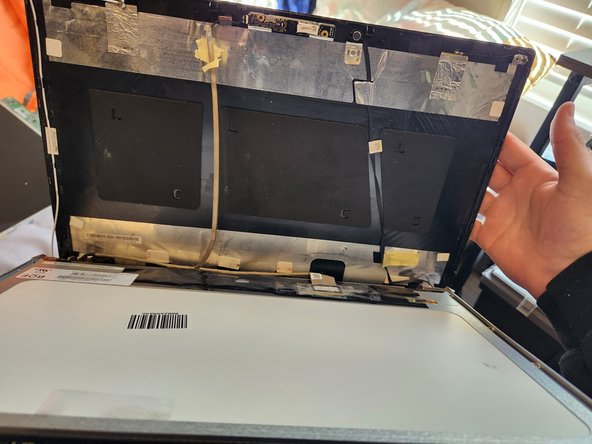
    • Alright, so the the first step is to make sure the power off for safety reasons. Carefully unhook the cover and it pops off and take it off so it's the screen itself and back cover

  2. Acer Aspire 3 A315 Screen Replacement, Unscrewing the screen from the back cover: 手順 2、 3の画像 1 Acer Aspire 3 A315 Screen Replacement, Unscrewing the screen from the back cover: 手順 2、 3の画像 2 Acer Aspire 3 A315 Screen Replacement, Unscrewing the screen from the back cover: 手順 2、 3の画像 3
    • Locate the 4 screws in all corners and unscrew them. Be sure to put them separately from other screws and don't loose them!

  3. Acer Aspire 3 A315 Screen Replacement, Disconnecting the screen from the frame and camera: 手順 3、 3の画像 1 Acer Aspire 3 A315 Screen Replacement, Disconnecting the screen from the frame and camera: 手順 3、 3の画像 2 Acer Aspire 3 A315 Screen Replacement, Disconnecting the screen from the frame and camera: 手順 3、 3の画像 3
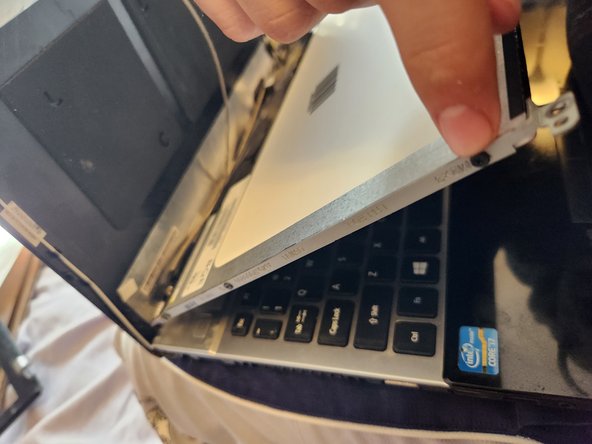
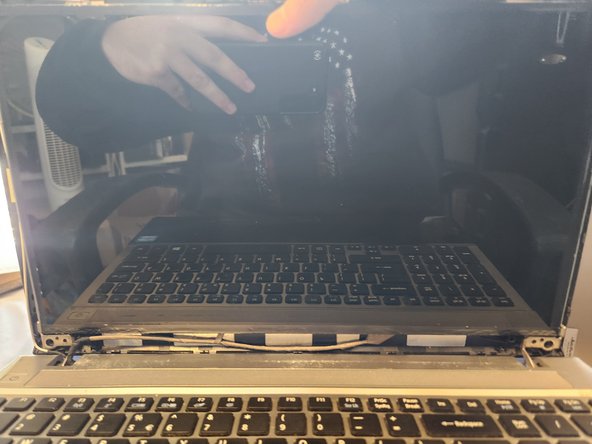
    • Undo the tape from the camera wires that are taped to the back of the screen. Push the cover backward for ease to get to the screen better. Locate the 6 screws that are one the sides of the frame. 3 on each side of the frame. Unscrew them and set them to the side

  4. Acer Aspire 3 A315 Screen Replacement, Disconnecting the screen and reapplying it: 手順 4、 3の画像 1 Acer Aspire 3 A315 Screen Replacement, Disconnecting the screen and reapplying it: 手順 4、 3の画像 2 Acer Aspire 3 A315 Screen Replacement, Disconnecting the screen and reapplying it: 手順 4、 3の画像 3
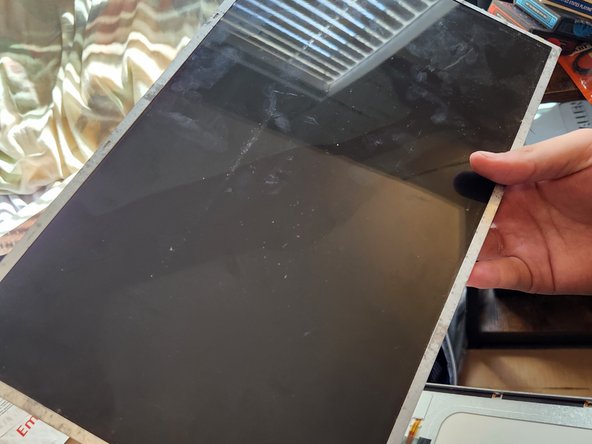
    • Find the cable connected to bottom of the screen. Untape it and take it off carefully to not damage it. Take the old screen off and put the new one in it. Reconnect the cable carefully and retape it to secure it

  5. Acer Aspire 3 A315 Screen Replacement, Cable management and rescrew the screen to the frame: 手順 5、 3の画像 1 Acer Aspire 3 A315 Screen Replacement, Cable management and rescrew the screen to the frame: 手順 5、 3の画像 2 Acer Aspire 3 A315 Screen Replacement, Cable management and rescrew the screen to the frame: 手順 5、 3の画像 3
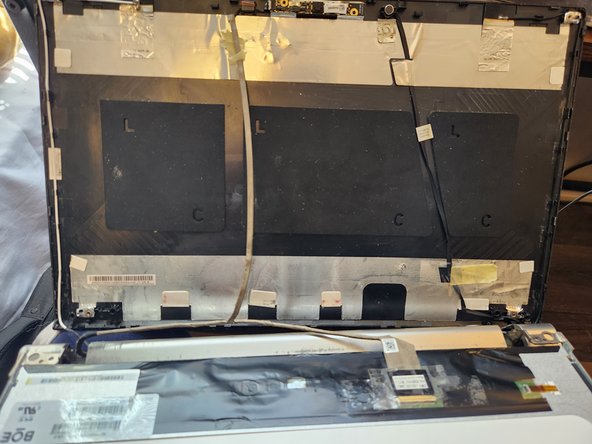
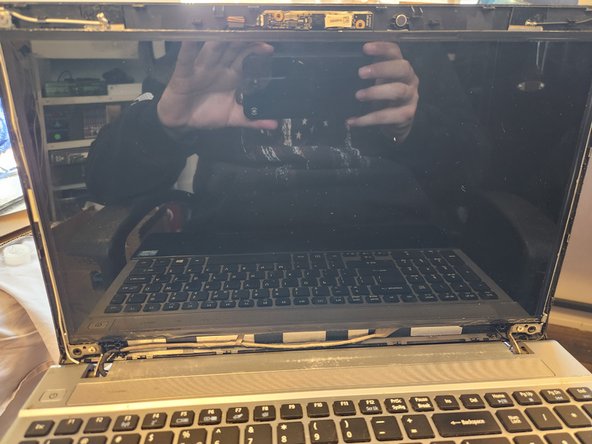
    • Like usual with everything, cable management. Look out for the white and black wires and make sure they are set where they are need to be ( blue arrows). Retape the camera wire to the back of the screen (green or cyan arrow). Rescrew the screen back together to the frame with the 6 small screws you removed earlier. And hold the screen in place

  6. Acer Aspire 3 A315 Screen Replacement, Resrewing screen to back cover: 手順 6、 3の画像 1 Acer Aspire 3 A315 Screen Replacement, Resrewing screen to back cover: 手順 6、 3の画像 2 Acer Aspire 3 A315 Screen Replacement, Resrewing screen to back cover: 手順 6、 3の画像 3
    • Put back the 4 screws from each other the corners of the screen. The screen should be connected to the back cover and able to stand up without your support

  7. Acer Aspire 3 A315 Screen Replacement, Putting cover on and testing: 手順 7、 2の画像 1 Acer Aspire 3 A315 Screen Replacement, Putting cover on and testing: 手順 7、 2の画像 2
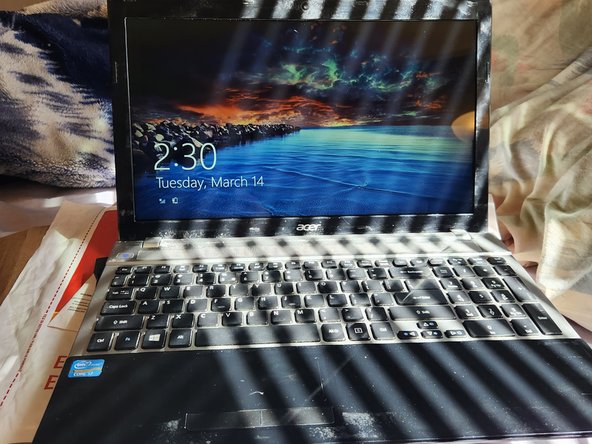
    • Snap the cover back on the screen carefully not to cause any damage. Afterwards boot it up and check its operational. Thanks for checking out my first guide! Hope it helps

終わりに

To reassemble your device, follow these instructions in reverse order.

ある他の人がこのガイドを完成しました。

作成者

1人の作成者と共同作成されました。

Hunter hale

メンバー登録日: 03/05/23

175 ポイント

1ガイドが承認済み

0 件のコメント

コメントを追加

統計データ:

過去 24時間: 1

過去 7 日: 27

過去 30 日: 114

今までの合計 793