はじめに
The hard drive, responsible for storing all your important files. Without a hard drive, your computer would have nothing to operate off of. It would be a machine without code. Therefore, issues with it tend to be very serious. Things such as corruption can cause important files to be lost or damaged. That’s why this guide will be very helpful, in the event that you need to replace the hard drive of your ASUS Q405U.
必要な工具と部品
-
-
Using the Phillips #1 screwdriver, remove eleven (11) 1.5 mm screws from the back cover.
-
-
-
-
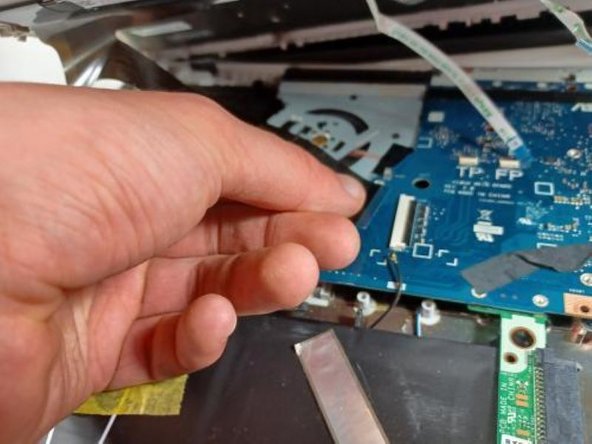
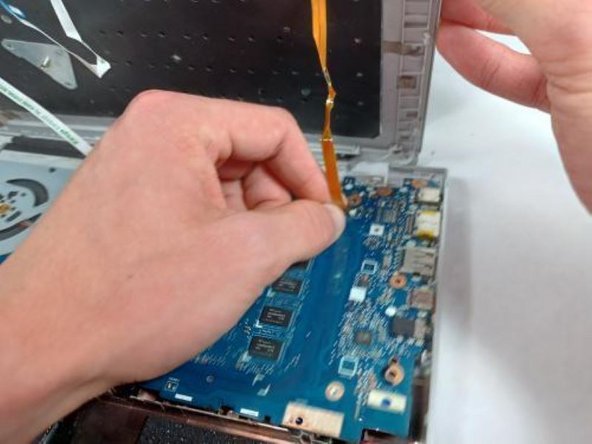
Remove the narrow strip of tape to the left of the hard drive.
-
Remove the five screws holding the caddy in.
-
Lift the hard drive slight;y and slide it to the right to remove it from its socket.
-


To reassemble your device, follow these instructions in reverse order.
To reassemble your device, follow these instructions in reverse order.
ある他の人がこのガイドを完成しました。
チーム

UMass Dartmouth, Team 2-8, Sinclaire Fall 2021 UMass Dartmouth, Team 2-8, Sinclaire Fall 2021人のメンバー
UMASSD-SINCLAIRE-F21S2G8
4 メンバー
5のガイドは作成済み