メインコンテンツにスキップ

ASUS EEE PC701SD-WHI004X Touchpad and/or Mouse Button Replacement

必要な工具と部品

  1. ASUS EEE PC701SD-WHI004X Touchpad and/or Mouse Button Replacement, Battery: 手順 1、 2の画像 1 ASUS EEE PC701SD-WHI004X Touchpad and/or Mouse Button Replacement, Battery: 手順 1、 2の画像 2
    • Flip the laptop over, you should see two battery tabs.

    • Slide the right tab towards the right. The orange dot should be visible. This tab will be locked open.

  2. ASUS EEE PC701SD-WHI004X Touchpad and/or Mouse Button Replacement: 手順 2、 2の画像 1 ASUS EEE PC701SD-WHI004X Touchpad and/or Mouse Button Replacement: 手順 2、 2の画像 2
    • While holding the left tab towards the left. Gently slide the battery out of the laptop.

  3. ASUS EEE PC701SD-WHI004X Touchpad and/or Mouse Button Replacement, Keyboard: 手順 3、 3の画像 1 ASUS EEE PC701SD-WHI004X Touchpad and/or Mouse Button Replacement, Keyboard: 手順 3、 3の画像 2 ASUS EEE PC701SD-WHI004X Touchpad and/or Mouse Button Replacement, Keyboard: 手順 3、 3の画像 3
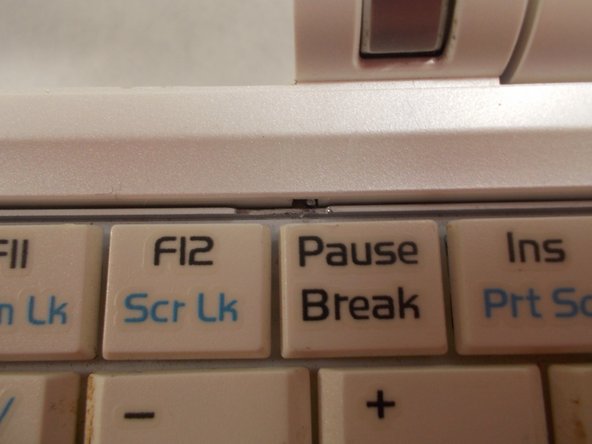
    • Push the 3 tabs at the top of the keyboard in and down one at a time using a nylon spudger.

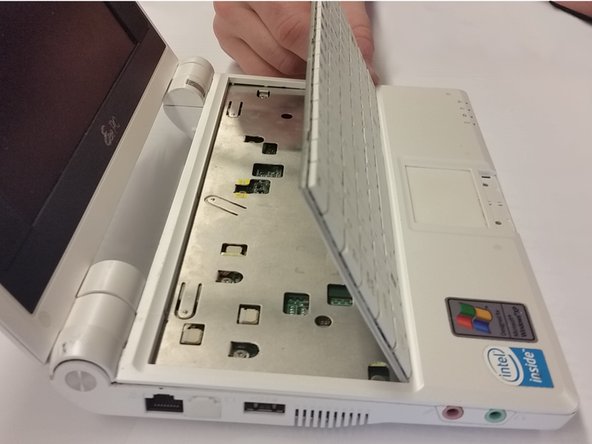
    • Once the three tabs have been pushed in, gently pry the top of the keyboard until it begins to hinge out of its slot.

    • The keyboard is still attached by a cable. Be careful when removing not to damage the cable. Do not yank the keyboard out.

  4. ASUS EEE PC701SD-WHI004X Touchpad and/or Mouse Button Replacement: 手順 4、 3の画像 1 ASUS EEE PC701SD-WHI004X Touchpad and/or Mouse Button Replacement: 手順 4、 3の画像 2 ASUS EEE PC701SD-WHI004X Touchpad and/or Mouse Button Replacement: 手順 4、 3の画像 3
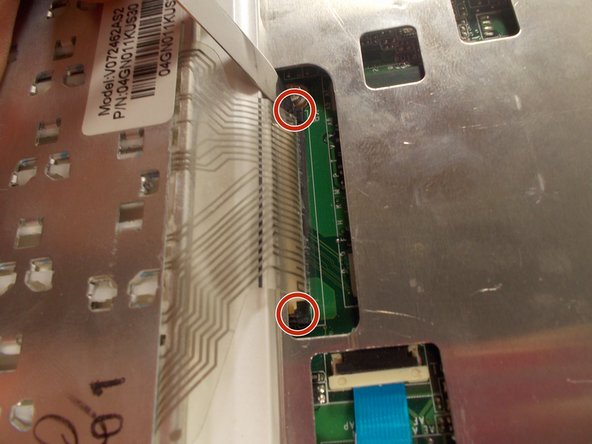
    • Push the two sides of the ribbon cable connector away from yourself. This will unseat the ribbon cable.

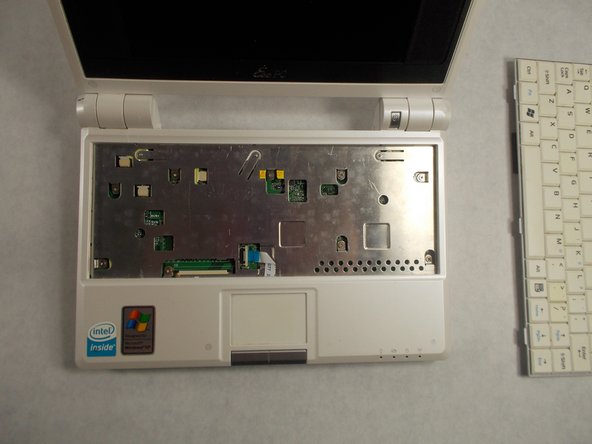
    • Once the tabs are unseated, you can gently remove the ribbon cable by pulling it out of its slot. The keyboard can now be removed.

    • To be on the safe side, it’s better to use a nylon spudger, rather than the metal spudger shown in the picture.

  5. ASUS EEE PC701SD-WHI004X Touchpad and/or Mouse Button Replacement, Touchpad and Mouse Buttons: 手順 5、 1の画像 1
    • Remove all six 3.4mm Phillips #1 screws marked with red circles.

  6. ASUS EEE PC701SD-WHI004X Touchpad and/or Mouse Button Replacement: 手順 6、 2の画像 1 ASUS EEE PC701SD-WHI004X Touchpad and/or Mouse Button Replacement: 手順 6、 2の画像 2
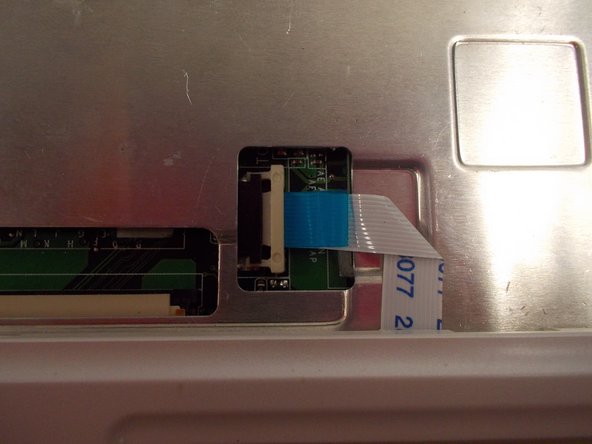
    • On either end of the ribbon cable clamp, carefully push the tab towards the right, using a nylon spudger.

    • The ribbon cable can now be pulled out using the blue tab attached to the cable.

  7. ASUS EEE PC701SD-WHI004X Touchpad and/or Mouse Button Replacement: 手順 7、 2の画像 1 ASUS EEE PC701SD-WHI004X Touchpad and/or Mouse Button Replacement: 手順 7、 2の画像 2
    • Move the screen as far back as possible, and pry apart the plastic clips on the inside and outside of the hinges. They should be pushed upwards.

    • Use a spudger between the metal and white plastic, and carefully pry them apart to dislodge the clips.

  8. ASUS EEE PC701SD-WHI004X Touchpad and/or Mouse Button Replacement: 手順 8、 1の画像 1
    • Pry the top cover off of the laptop. This should come off easily if you have removed all the tabs.

    • Be careful around the audio jack area. You may need to slide the cover towards the left and around the headphone and microphone jacks.

  9. ASUS EEE PC701SD-WHI004X Touchpad and/or Mouse Button Replacement: 手順 9、 3の画像 1 ASUS EEE PC701SD-WHI004X Touchpad and/or Mouse Button Replacement: 手順 9、 3の画像 2 ASUS EEE PC701SD-WHI004X Touchpad and/or Mouse Button Replacement: 手順 9、 3の画像 3
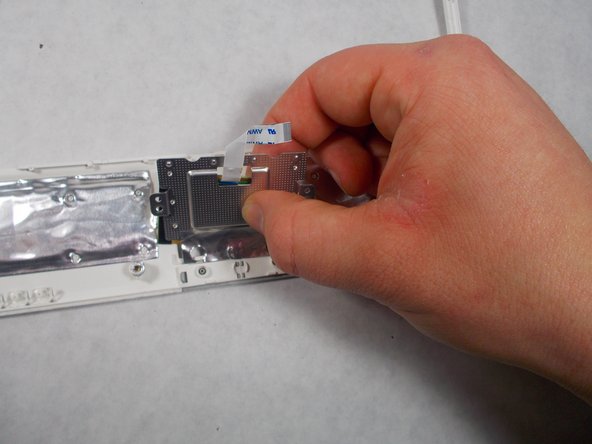
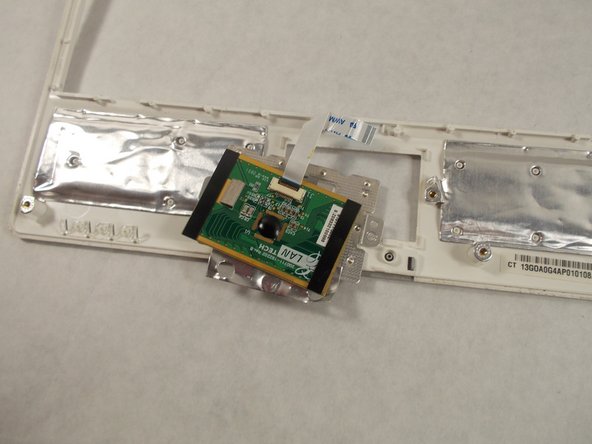
    • Flip over the top cover and unscrew the two 1.2mm Phillips #0 screws.

    • Remove the plate and the trackpad. They may come off separately.

終わりに

To reassemble your device, follow these instructions in reverse order.

ある他の人がこのガイドを完成しました。

作成者

4人の作成者と共同で作成されました。

Vinny Micale

メンバー登録日: 03/21/17

225 ポイント

2のガイドは作成済み

チーム

UMass Dartmouth, Team S2-G8, Isaacson Spring 2017 UMass Dartmouth, Team S2-G8, Isaacson Spring 2017人のメンバー

UMASSD-ISAACSON-S17S2G8

3 メンバー

10のガイドは作成済み

0 件のコメント

コメントを追加

統計データ:

過去 24時間: 1

過去 7 日: 8

過去 30 日: 17

今までの合計 991