はじめに
If your ARRIS Surfboard cable modem is overheating — restarting, or slowing down intermittently — it may struggle with heat dissipation. Usually a metal heatsink help keep the temperatures down, but some newer versions of this modem don’t include a heatsink, and will have problems maintaining a high connection speed.
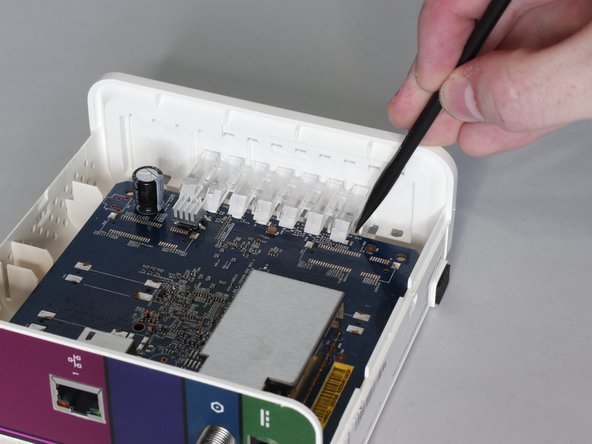
Before trying this guide, make sure the modem has access to plenty of air and that nothing is blocking the vents on either side. If that doesn’t help, these instructions will show you how to open the device and apply a new heatsink to the system.
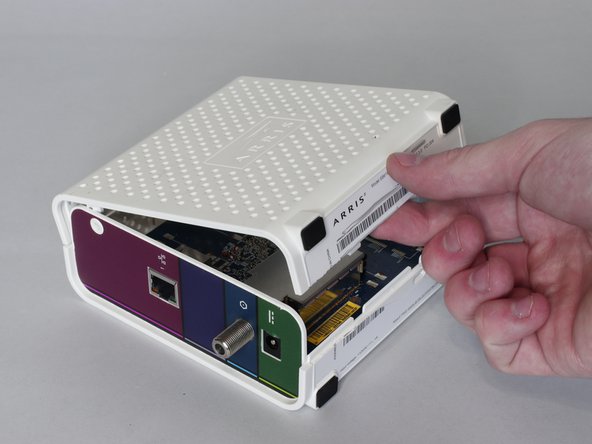
Before beginning, disconnect all cables from the back of the modem. Then, let the modem cool down for 5 minutes.
必要な工具と部品


To reassemble your device, follow these instructions in reverse order.
2 の人々がこのガイドを完成させました。

チーム

Embry-Riddle Aeronautical University, Team S3-G1, Cromer Twal Fall 2020 Embry-Riddle Aeronautical University, Team S3-G1, Cromer Twal Fall 2020人のメンバー
ERAU-CROMER TWAL-F20S3G1
1 メンバー
3のガイドは作成済み
1件のガイドコメント
Thank you for this review, helped me to open it. The only thing i did differently is peeled oof the sticker from the bottom - carefully, so not to damage it. Why do u place the heatsink on that specific tiny chip - is it the one that heats up the most? My feeling when opening it was that the RF part was the hottest.