メインコンテンツにスキップ

このバージョンは誤った内容を含んでいる可能性があります。最新の承認済みスナップショットに切り替えてください。

必要な工具と部品

  1. この手順は未翻訳です。 翻訳を手伝う。

    : 手順 1、 3の画像 1 : 手順 1、 3の画像 2 : 手順 1、 3の画像 3
    • Pry all four of the plastic feet off the bottom of the enclosure using the iPod opening tool.

  2. この手順は未翻訳です。 翻訳を手伝う。

    : 手順 2、 2の画像 1 : 手順 2、 2の画像 2
    • Unscrew the four screws previously covered by the feet with a Phillips #1 screwdriver.

  3. この手順は未翻訳です。 翻訳を手伝う。

    : 手順 3、 2の画像 1 : 手順 3、 2の画像 2
    • Flip the device right side up.

    • Gently slide the casing upwards and off the hard drive.

  4. この手順は未翻訳です。 翻訳を手伝う。

    : 手順 4、 1の画像 1
    • Flip device upside down again.

    • Gently pry the bottom gray casing away from the device.

  5. この手順は未翻訳です。 翻訳を手伝う。

    : 手順 5、 2の画像 1 : 手順 5、 2の画像 2
    • Rotate so the back of the device is facing you.

    • Gently pry the back casing away.

    • When the back casing is removed, the fan will become loose.

  6. この手順は未翻訳です。 翻訳を手伝う。

    : 手順 6、 2の画像 1 : 手順 6、 2の画像 2
    • Find the conjoined ID cable wires that are colored black, orange, and yellow.

    • Lift white portion of cable wires to disconnect it.

  7. この手順は未翻訳です。 翻訳を手伝う。

    : 手順 7、 3の画像 1 : 手順 7、 3の画像 2 : 手順 7、 3の画像 3
    • At this point, the fan is loose and can be easily moved but not disconnected.

    • Using the spudger, depress the pressure holders at all four corners of the fan.

    • Take out the fan and its cords, by pulling it outward from its cavity within the device.

  8. この手順は未翻訳です。 翻訳を手伝う。

    : 手順 8、 2の画像 1 : 手順 8、 2の画像 2
    • Depress 2 pressure holds on each side of the power switch.

    • Press out the back of the device.

  9. この手順は未翻訳です。 翻訳を手伝う。

    : 手順 9、 2の画像 1 : 手順 9、 2の画像 2
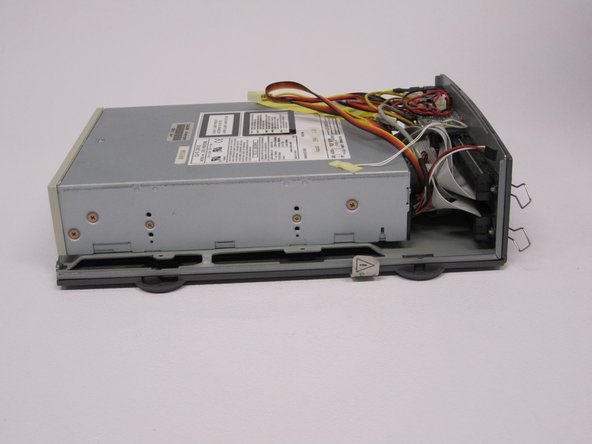
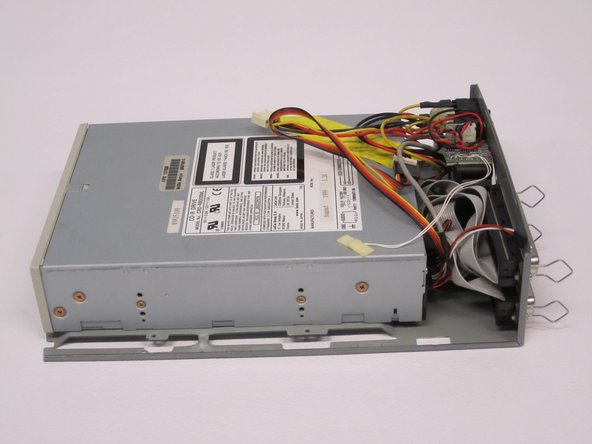
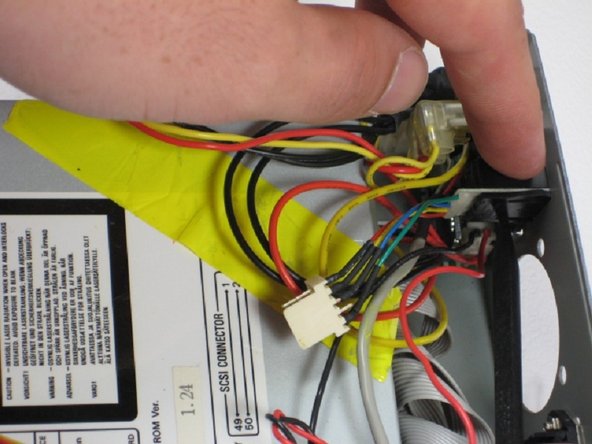
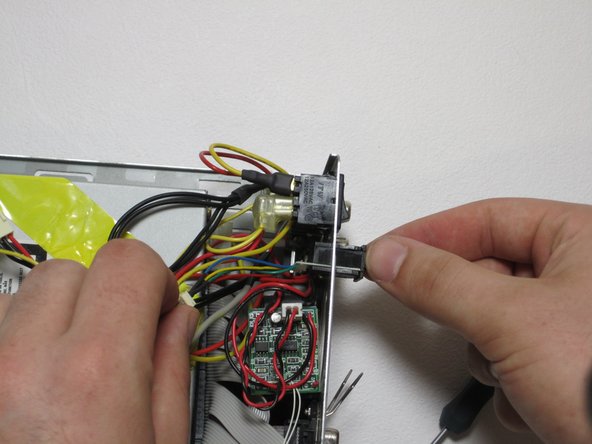
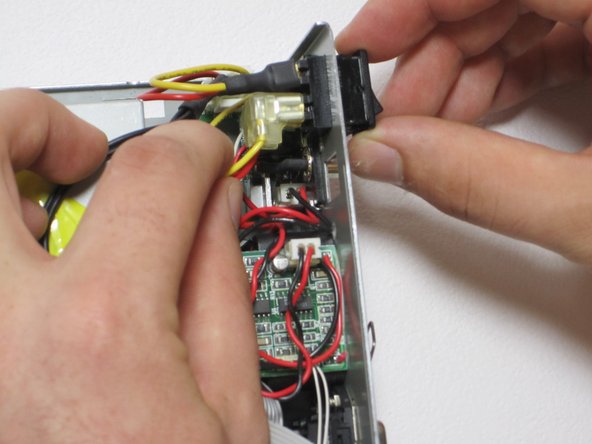
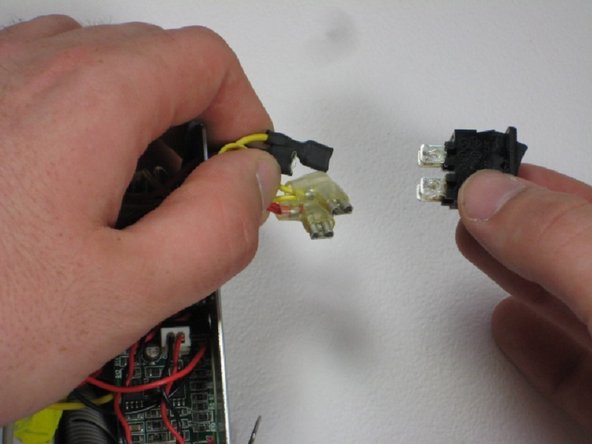
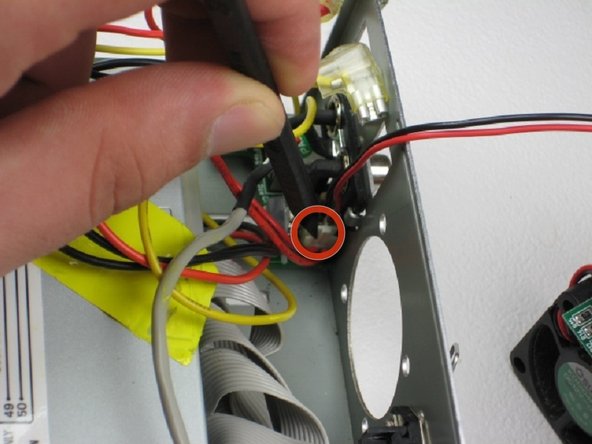
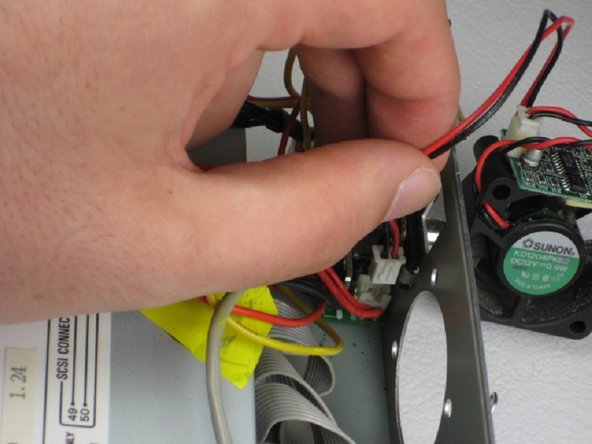
    • Remove all four 4 connections from the power switch.

    • Remember that the straight connections are on the far side, while the L-shaped connections are on the near side, and that both yellow connections are on top. This is helpful for reassembly.

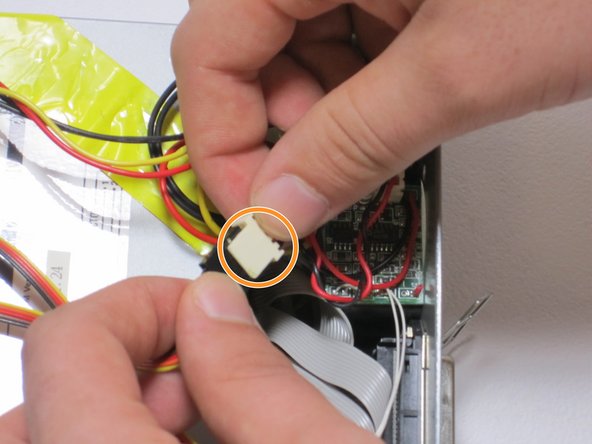
    • These are very hard to get off, use patience and wiggling.

  10. この手順は未翻訳です。 翻訳を手伝う。

    : 手順 10、 1の画像 1
    • Remove temperature guage.

  11. この手順は未翻訳です。 翻訳を手伝う。

    : 手順 11、 3の画像 1 : 手順 11、 3の画像 2 : 手順 11、 3の画像 3
    • Move the exhaust fan out of the way so you can access its control cord.

    • Use the spudger to depress the hold on the fan cord.

    • Gently pull fan cord from connection and remove fan completely.

ゴール

作成者

6人の作成者と共同で作成されました。

Patrick Meyer

メンバー登録日: 04/10/11

83 ポイント

3のガイドは作成済み

チーム

Cal Poly, Team 24-60, Amido Spring 2011 Cal Poly, Team 24-60, Amido Spring 2011人のメンバー

CPSU-AMIDO-S11S24G60

5 メンバー

12のガイドは作成済み

0 件のコメント

コメントを追加

統計データ:

過去 24時間: 0

過去 7 日: 1

過去 30 日: 1

今までの合計 652