メインコンテンツにスキップ

AKASO KingPad A90 Camera (Rear and Front) Unit Replacement

必要な工具と部品

  1. AKASO KingPad A90 Camera (Rear and Front) Unit Replacement, Camera (Rear and Front) Unit: 手順 1、 3の画像 1 AKASO KingPad A90 Camera (Rear and Front) Unit Replacement, Camera (Rear and Front) Unit: 手順 1、 3の画像 2 AKASO KingPad A90 Camera (Rear and Front) Unit Replacement, Camera (Rear and Front) Unit: 手順 1、 3の画像 3
    • Remove screws.

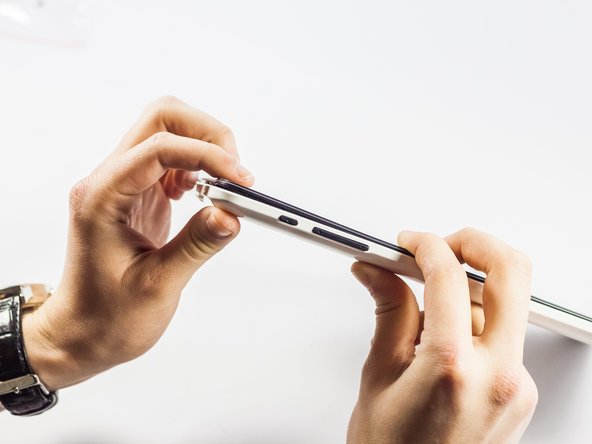
    • Insert spudger tool on the middle of the left side, between the white and black plastic.

    • Slide in a plastic opening tool and use it to further pull the back off.

    • Work your way around the edge of the tablet with the plastic opening tool and insert more as needed.

    • Pull off the back cover.

  2. AKASO KingPad A90 Camera (Rear and Front) Unit Replacement: 手順 2、 3の画像 1 AKASO KingPad A90 Camera (Rear and Front) Unit Replacement: 手順 2、 3の画像 2 AKASO KingPad A90 Camera (Rear and Front) Unit Replacement: 手順 2、 3の画像 3
    この手順で使用する道具:
    Tweezers
    $4.99
    購入する
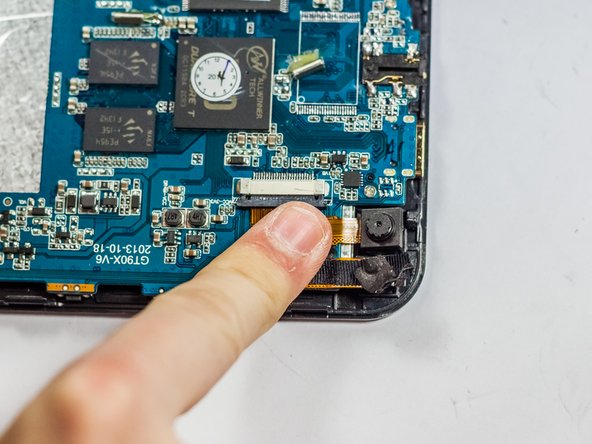
    • Locate the camera unit and note where it is attached to the motherboard.

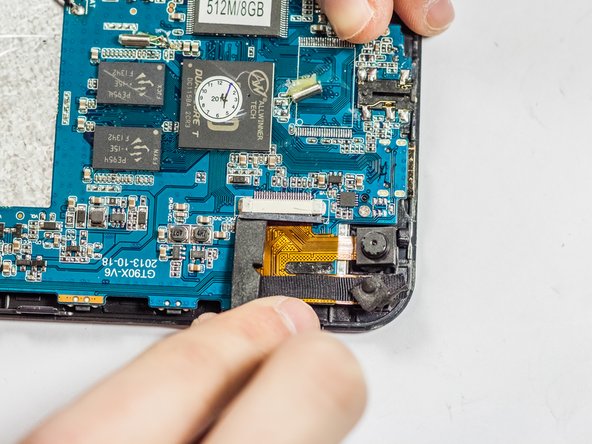
    • Grasp the camera unit with tweezers or fingers, and pull firmly to remove it from the adhesive holding it to the motherboard.

    • Be careful when lifting up the camera unit. Don’t tear the ribbon cable! Ensure that you examine the second picture of this step.

    • Using the spudger, carefully loosen the slot's plastic cover piece holding the ribbon cable in place.

    • Pull the ribbon cable out.

    • Remove the old adhesive with tweezers.

  3. AKASO KingPad A90 Camera (Rear and Front) Unit Replacement: 手順 3、 3の画像 1 AKASO KingPad A90 Camera (Rear and Front) Unit Replacement: 手順 3、 3の画像 2 AKASO KingPad A90 Camera (Rear and Front) Unit Replacement: 手順 3、 3の画像 3
    • Apply a small square of new adhesive in the same spot as the old adhesive was previously.

    • Gently slide the new camera unit's ribbon cable into the slot.

    • Give the ribbon a firm push to make sure it has made contact.

    • Press the plastic cover piece back in place with the spudger.

    • Firmly press the new camera onto the adhesive, making sure to line it up correctly.

  4. AKASO KingPad A90 Camera (Rear and Front) Unit Replacement: 手順 4、 3の画像 1 AKASO KingPad A90 Camera (Rear and Front) Unit Replacement: 手順 4、 3の画像 2 AKASO KingPad A90 Camera (Rear and Front) Unit Replacement: 手順 4、 3の画像 3
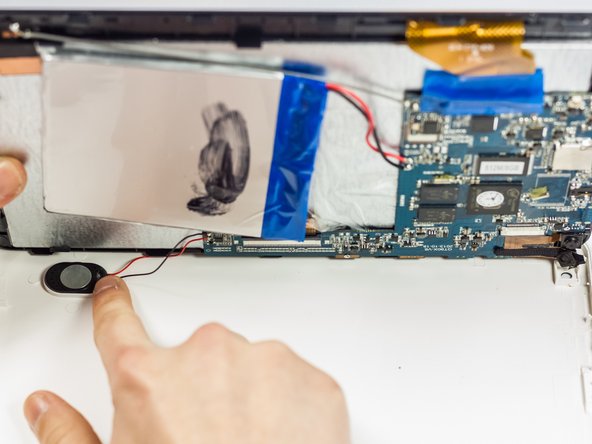
    • Replace the back cover with the new camera unit in place.

    • Gently press the speaker into place.

    • Don't let the volume rocker unit fall out of place.

    • Replace the screws.

ゴール

2 の人々がこのガイドを完成させました。

作成者

6人の作成者と共同で作成されました。

Miles

メンバー登録日: 03/24/15

260 ポイント

2のガイドは作成済み

チーム

UMass Dartmouth, Team 4-6, Vijaybhaskar Spring 2015 UMass Dartmouth, Team 4-6, Vijaybhaskar Spring 2015人のメンバー

UMASSD-VIJAYBHASKAR-S15S4G6

3 メンバー

6のガイドは作成済み

0 件のコメント

コメントを追加

統計データ:

過去 24時間: 0

過去 7 日: 2

過去 30 日: 8

今までの合計 688