はじめに
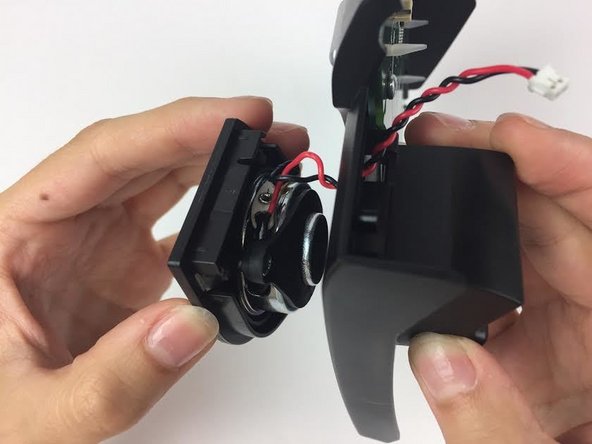
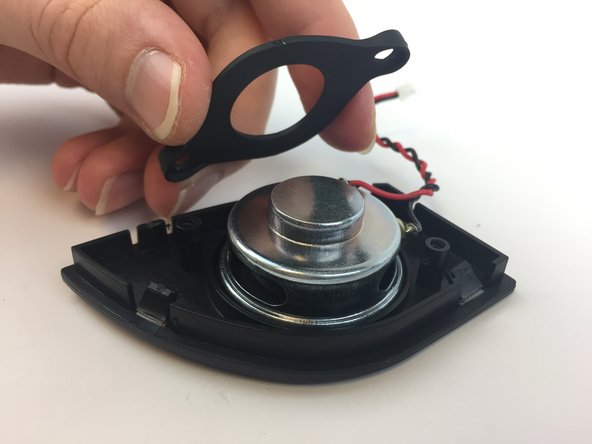
The speakers are necessary for audio communication while using the video phone's video call function. The speakers are not necessary for calls that do not involve video.
必要な工具と部品
-
-
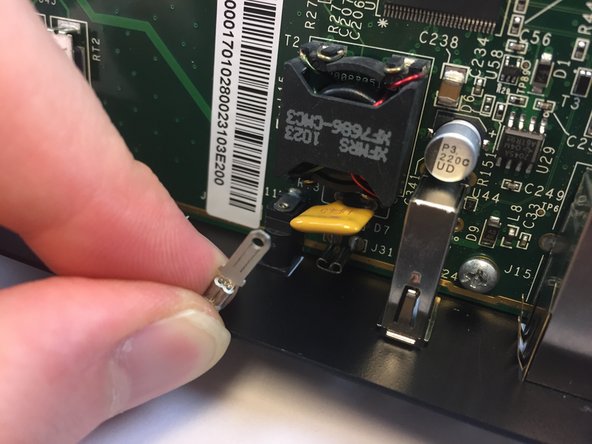
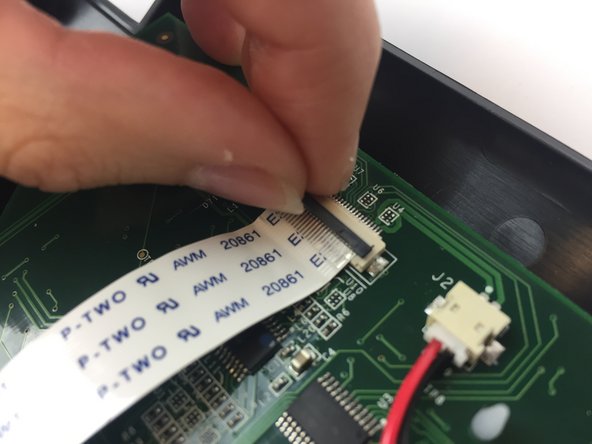
Press upwards with your index finger on the 4P4C connector as shown in the image.
-
Pull the connector gently out of its socket.
-
-
-
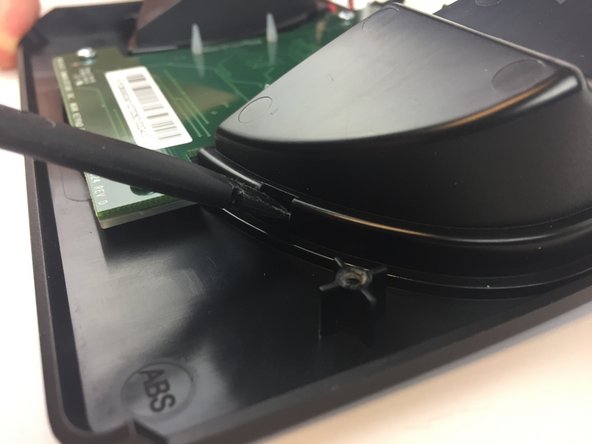
Flip the main body of the video phone so that the bottom is facing up.
-
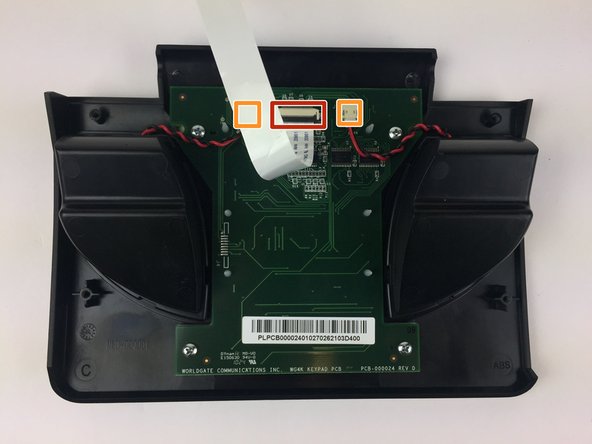
Use the Phillips #0 Screwdriver to remove the four Phillips head screws (6 mm) highlighted by the red circles.
-
-
-
-
Use the Phillips #0 Screwdriver to remove the four Phillips head screws (6 mm) highlighted by the red circles.
-
-
-
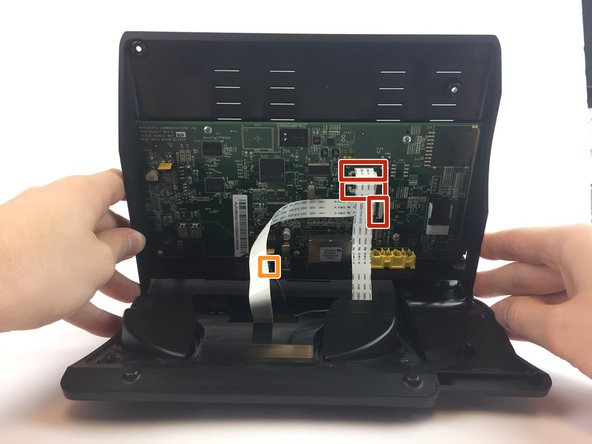
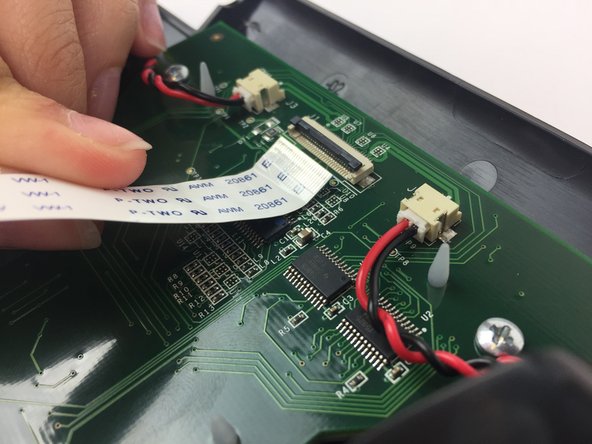
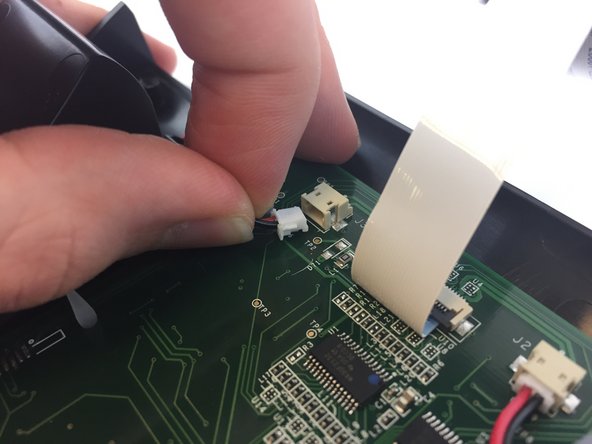
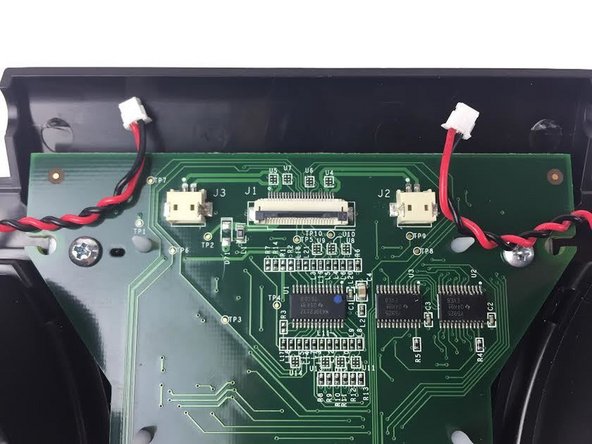
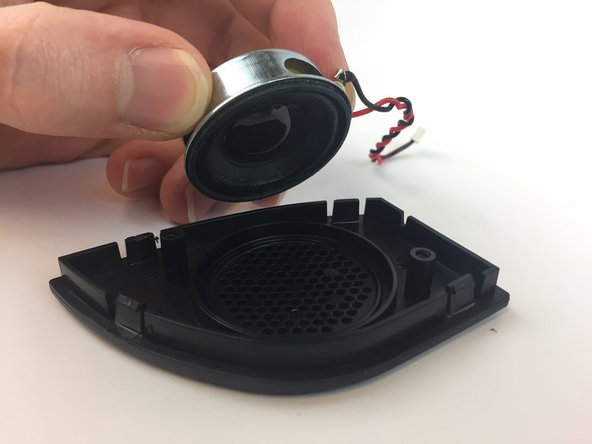
Disconnect the two white 2-pin JST connectors from the keypad/speaker circuit board by tugging gently until they release.
-


To reassemble your device, follow these instructions in reverse order.
To reassemble your device, follow these instructions in reverse order.
ある他の人がこのガイドを完成しました。
チーム

USF Tampa, Team 20-4, Remmell Spring 2017 USF Tampa, Team 20-4, Remmell Spring 2017人のメンバー
USFT-REMMELL-S17S20G4
4 メンバー
20のガイドは作成済み