メインコンテンツにスキップ

AC Capacitor for A/C Condenser Unit Replacement

必要な工具と部品

  1. AC Capacitor for A/C Condenser Unit Replacement, AC/Run Capacitor for A/C Condenser unit: 手順 1、 2の画像 1 AC Capacitor for A/C Condenser Unit Replacement, AC/Run Capacitor for A/C Condenser unit: 手順 1、 2の画像 2
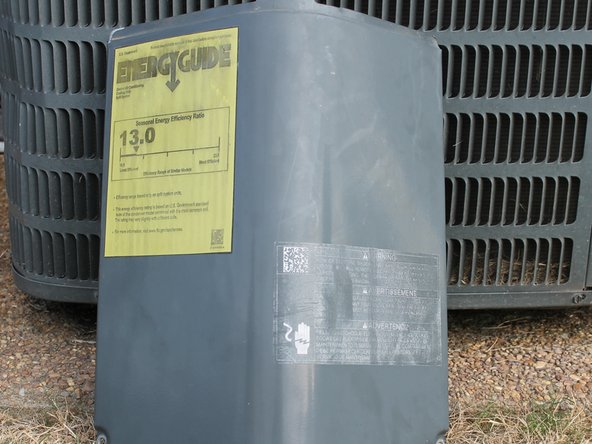
    • Go to the condenser unit outside the house and locate the breaker panel connected to the unit.

  2. AC Capacitor for A/C Condenser Unit Replacement: 手順 2、 3の画像 1 AC Capacitor for A/C Condenser Unit Replacement: 手順 2、 3の画像 2 AC Capacitor for A/C Condenser Unit Replacement: 手順 2、 3の画像 3
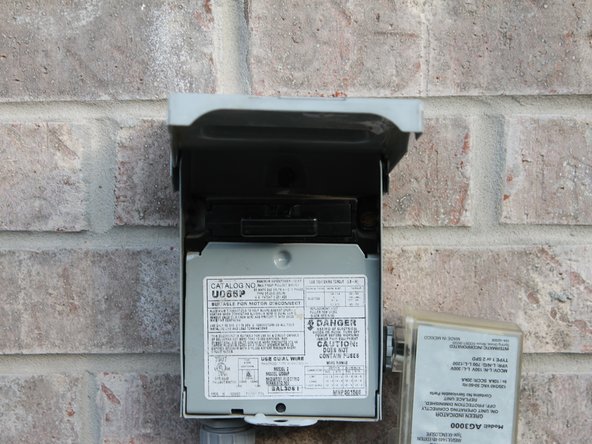
    • Open the breaker panel and pull out the fuse inside.

    • Turn off the power by removing the fuse or flipping the switch on the disconnect box before continuing on with the guide. Leaving the power on during repair could result in serious injury or death.

  3. AC Capacitor for A/C Condenser Unit Replacement: 手順 3、 3の画像 1 AC Capacitor for A/C Condenser Unit Replacement: 手順 3、 3の画像 2 AC Capacitor for A/C Condenser Unit Replacement: 手順 3、 3の画像 3
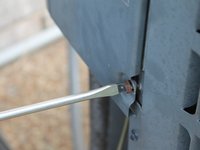
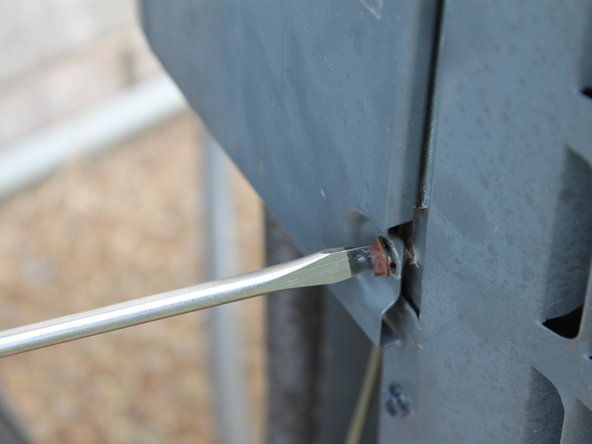
    • Locate the Electrical panel hiding the capacitor and unscrew the panel from the condenser unit using the screwdriver or the drill bit

    • Usually, there are two screws on the bottom of the electrical panel that are the screws holding the panel to the condenser unit.

    • Screw size/type is dependent on the model of the condenser unit.

  4. AC Capacitor for A/C Condenser Unit Replacement: 手順 4、 3の画像 1 AC Capacitor for A/C Condenser Unit Replacement: 手順 4、 3の画像 2 AC Capacitor for A/C Condenser Unit Replacement: 手順 4、 3の画像 3
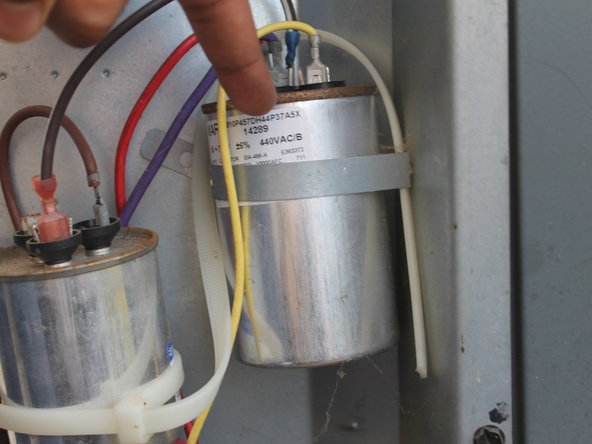
    • Some condenser units have 1 run capacitor, some have 2. Steps are the same for each but you have to buy replacements for each capacitor.

    • Do not touch the metal part of the wires. They are still connected to a charged capacitor and can still shock you. Pull wires from the insulated parts.

    • Take pictures or remember where each colored wire is connected, and pull each wire straight up to disconnect from capacitor.

  5. AC Capacitor for A/C Condenser Unit Replacement: 手順 5、 3の画像 1 AC Capacitor for A/C Condenser Unit Replacement: 手順 5、 3の画像 2 AC Capacitor for A/C Condenser Unit Replacement: 手順 5、 3の画像 3
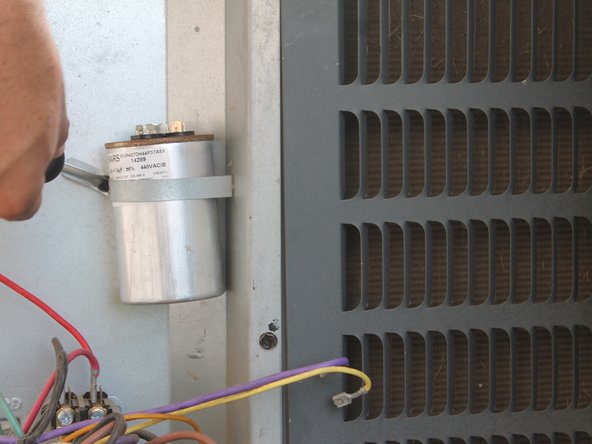
    • Locate the bracket holding the capacitor to the condenser unit and unscrew it.

    • Screw size/type is dependent on the model of the condenser unit.

  6. AC Capacitor for A/C Condenser Unit Replacement: 手順 6、 3の画像 1 AC Capacitor for A/C Condenser Unit Replacement: 手順 6、 3の画像 2 AC Capacitor for A/C Condenser Unit Replacement: 手順 6、 3の画像 3
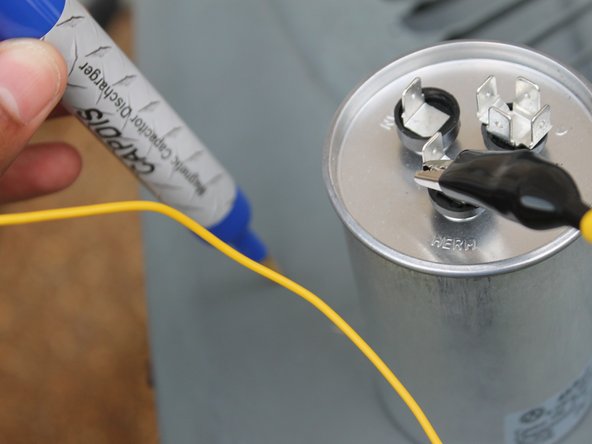
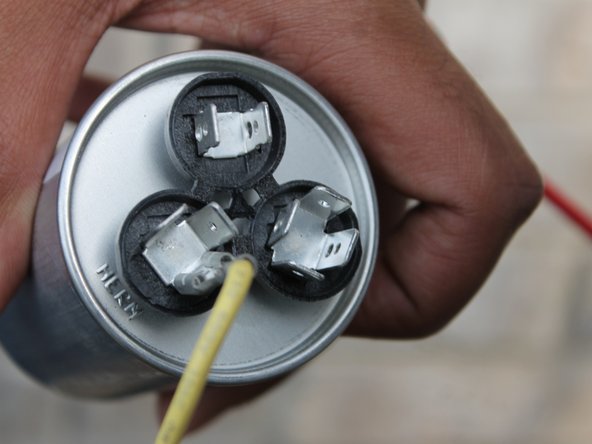
    • Using the capacitor discharge pen, connect wire lead to the common terminal of the capacitor, the 'C' side of the capacitor. Then touch the brass tip of the capactior to any nearby ground, frame, or chassis.

    • Repeat these steps with the herm side and then the fan side of the capacitor to a nearby ground, frame, or chassis.

    • After discharging the capacitor, you can safely dispose of the capacitor responsibly.

    • Harzardous situation which can result in injury or death. The discharge process should only be used with a certified capacitor discharge tool.

    • Most state or local government websites will have information on how to dispose of electronics safetly.

  7. AC Capacitor for A/C Condenser Unit Replacement: 手順 7、 3の画像 1 AC Capacitor for A/C Condenser Unit Replacement: 手順 7、 3の画像 2 AC Capacitor for A/C Condenser Unit Replacement: 手順 7、 3の画像 3
    • With the new capacitor, plug in the color wires to each terminal the wires were connected to on the old capacitor.

    • Reference images about the capacitor wiring are very helpful in this step.

  8. AC Capacitor for A/C Condenser Unit Replacement: 手順 8、 2の画像 1 AC Capacitor for A/C Condenser Unit Replacement: 手順 8、 2の画像 2
    • Put the capacitor against the unit, align the bracket to the screw socket, and screw it the bracket.

  9. AC Capacitor for A/C Condenser Unit Replacement: 手順 9、 3の画像 1 AC Capacitor for A/C Condenser Unit Replacement: 手順 9、 3の画像 2 AC Capacitor for A/C Condenser Unit Replacement: 手順 9、 3の画像 3
    • Put the electrical panel back into place, and screw it back onto the condenser unit.

  10. AC Capacitor for A/C Condenser Unit Replacement: 手順 10、 3の画像 1 AC Capacitor for A/C Condenser Unit Replacement: 手順 10、 3の画像 2 AC Capacitor for A/C Condenser Unit Replacement: 手順 10、 3の画像 3
    • Put the fuse back into the breaker panel.

    • Remember to have completed all the previous steps before putting the fuse back in the breaker panel.

    • The circuit should be on once the fuse is plugged back into the panel.

終わりに

Follow these instructions and replacing the capacitor will be easy.

作成者

1人の作成者と共同作成されました。

Devin Ceruti

メンバー登録日: 09/19/22

181 ポイント

1ガイドが承認済み

チーム

University of Memphis, Team 1-2, Cameron Fall 2022 University of Memphis, Team 1-2, Cameron Fall 2022人のメンバー

UM-CAMERON-F22S1G2

3 メンバー

2のガイドは作成済み

0 件のコメント

コメントを追加

統計データ:

過去 24時間: 1

過去 7 日: 13

過去 30 日: 43

今までの合計 654