はじめに
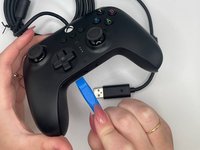
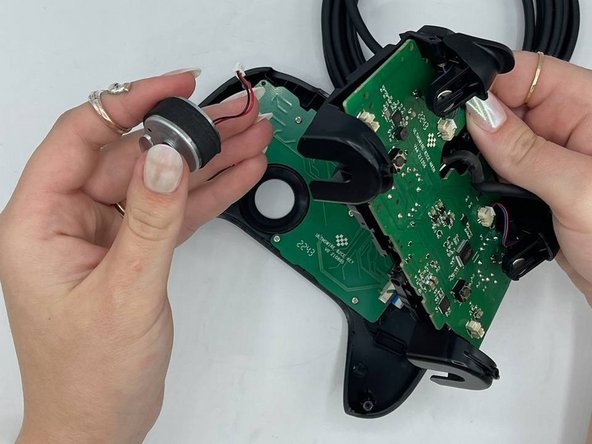
You can access the vibration/rumble motors for your 8BitDo Ultimate Wired game controller with this guide if they need to be replaced. You may need to replace the motors if they aren't activating when they need to or continuously running. You will not need to do any difficult steps, but be careful when opening the top panel. Ensure the controller is not plugged into a power source or operating system.
必要な工具と部品
-
-
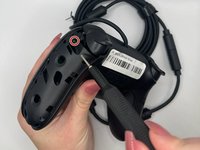
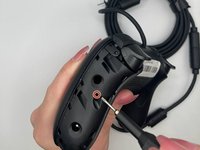
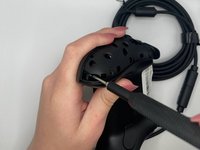
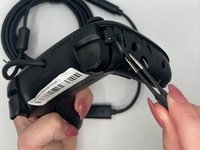
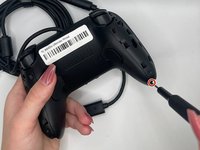
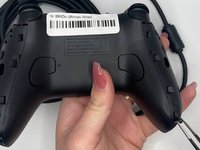
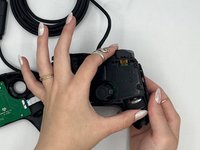
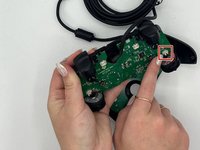
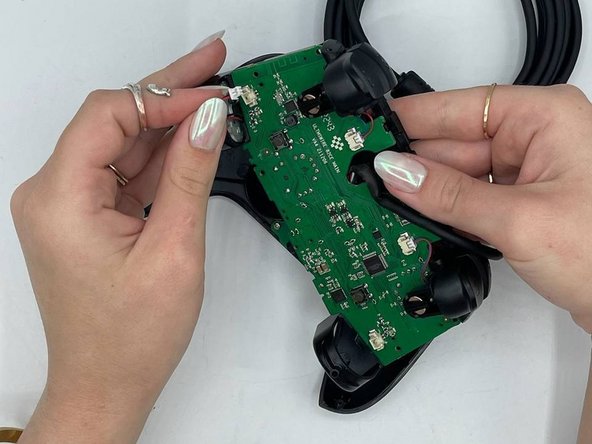
Orient the controller such that the back of the controller is facing you.
-
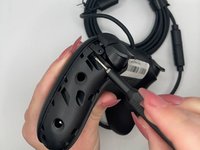
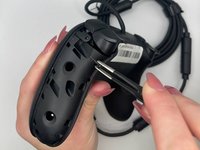
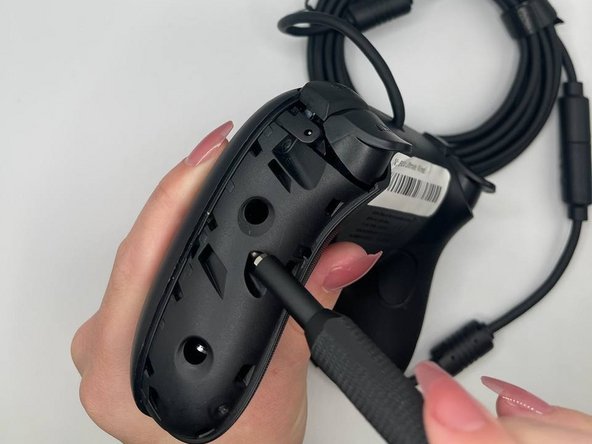
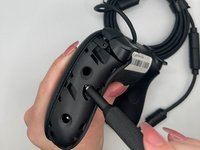
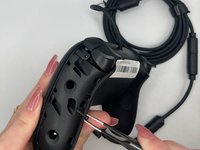
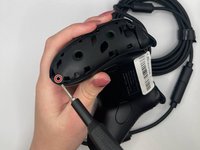
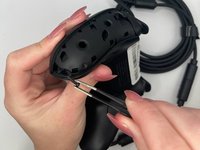
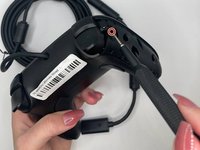
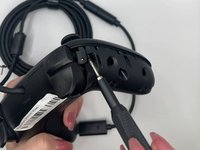
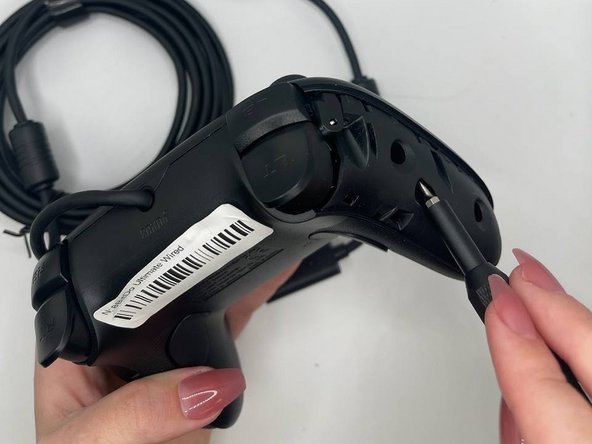
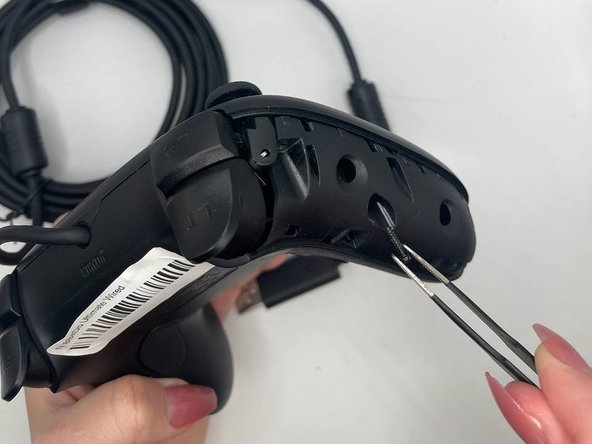
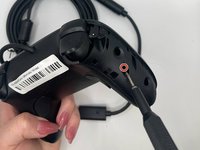
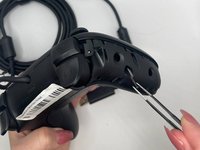
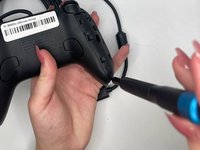
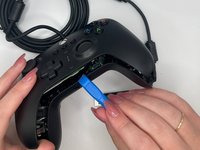
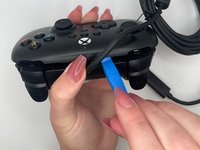
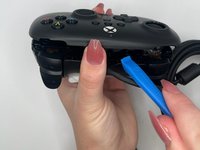
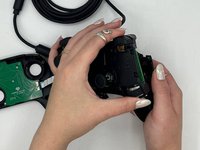
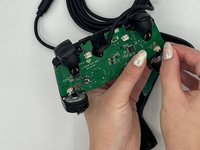
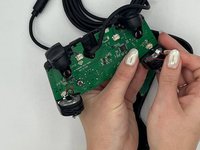
Insert an opening tool into the small opening on the back of the grip, and gently pry the grip cover away until it pops free.
-
-


To reassemble your device, follow these instructions in reverse order.
ある他の人がこのガイドを完成しました。

チーム

University of North Texas, Team 4-3, Harold Spring 2024 University of North Texas, Team 4-3, Harold Spring 2024人のメンバー
UNT-HAROLD-S24S4G3
3 メンバー
5のガイドは作成済み