はじめに
Each panel is cut in 2 pieces. Pay attention to the hole layouts. We won’t be installing all the panels consecutively. We’ll first install the back panel(to do the wiring) bottom panel(needs to be done before the bed) and half of the left panel(power inlet and switch).
It’s wise to wait until everything is connected and works correctly before installing the remaining panels.
There kit does contain a back panel to fully enclose the printer. Because there is no active cooling on the board I decided to leave it off for now. The installation is the same for the other panels.
Printed parts needed:
None
必要な工具と部品
-
-
Peel the white protective film off both sides of the panel walls.
-
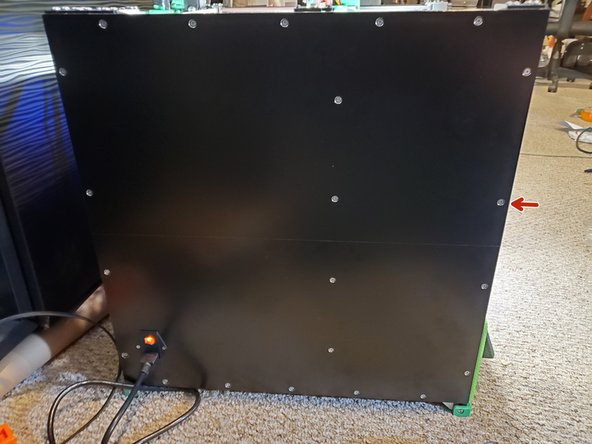
Using 10x M3x8 countersunk screws and 10x M3 T-nuts install the back panel on the inside 2020 extrusion
-
-
-
Remove the protective film from both sides of the panel.
-
Take 4x 8mm brass standoffs and secure them to the underside of the front half of the bottom panel with 4x M3x6 button head screws.(opposite side of the countersunk holes)
-
Screw the BLV NeoPixel board to the front half of the bottom panel using 4x M3x6 button head screws. The reset button faces the cutouts for the wires(towards the front of the printer)
-
Connect the black/white 2 wire cable to the transmission port. Connect the red/black power wires to the power input.
-
Screw on 12x M3x8 countersunk screws and 12x M3 T-nuts onto the front and back half of the bottom panel.
-
Drop the 2 halves of the bottom panel into the frame with the T-nuts dropping into the channel.
-
Once you have equal spacing tighten the M3x8 countersunk screws
-
-
-
-
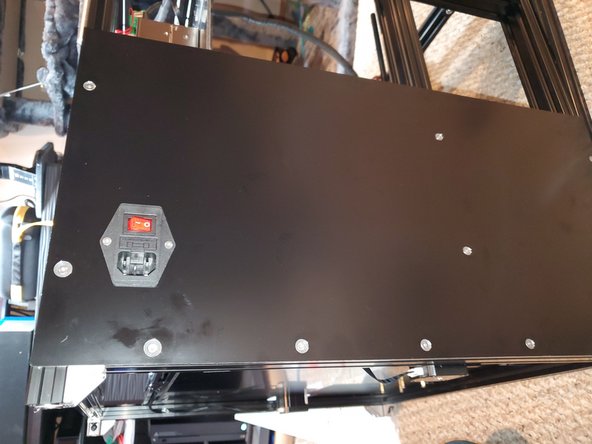
Find the Left side lower half panel that has the hole in it for the power input and switch.
-
Mount the switch to the side panel with 2x M3x8 countersunk screws and 2x M3 nuts
-
Using 11x M3x8 countersunk screws and 11x M3 T-nuts install the left side lower half panel onto the printer
-
Using 11x M3x8 countersunk screws and 11x M3 T-nuts install the left side upper half panel onto the printer
-
-
-
Using 11x M3x8 countersunk screws and 11x M3 T-nuts install the right side lower half panel onto the printer
-
Using 11x M3x8 countersunk screws and 11x M3 T-nuts install the right side upper half panel onto the printer
-


8 の人々がこのガイドを完成させました。