必要な工具と部品
-
-
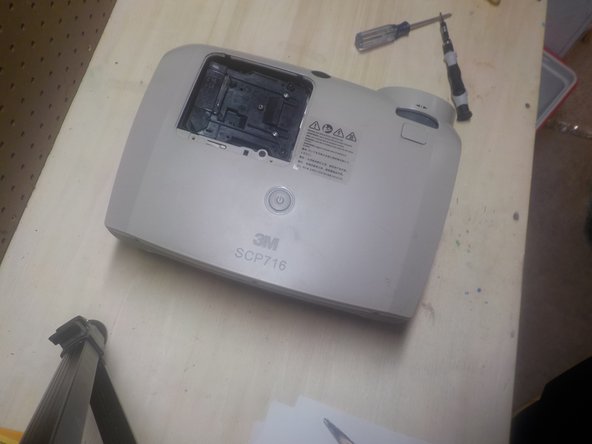
Remove the 2 screws holding the lamp cover on. Then remove the cover. There are 2 screws on the lamp with arrows pointing towards them. You can loosen those screws and lift the lamp straight out of the projector.
-
-
-
-
The lamp is an Osram P-VIP 180-230W/10 E20.6, according to markings on the lamp.
-
Fore more info, please visit the teardown of this projector model.
-
-
-
Push the lamp down into the projector. Then tighten the 2 screws on the lamp and reinstall the cover the same way you removed it.
-


もう少しです!
To reassemble your device, follow these instructions in reverse order.
終わりに
To reassemble your device, follow these instructions in reverse order.
