メインコンテンツにスキップ

2018 Honda Civic LX Engine Air Filter Replacement

必要な工具と部品

  1. 2018 Honda Civic LX Engine Air Filter Replacement, Engine Air Filter: 手順 1、 3の画像 1 2018 Honda Civic LX Engine Air Filter Replacement, Engine Air Filter: 手順 1、 3の画像 2 2018 Honda Civic LX Engine Air Filter Replacement, Engine Air Filter: 手順 1、 3の画像 3
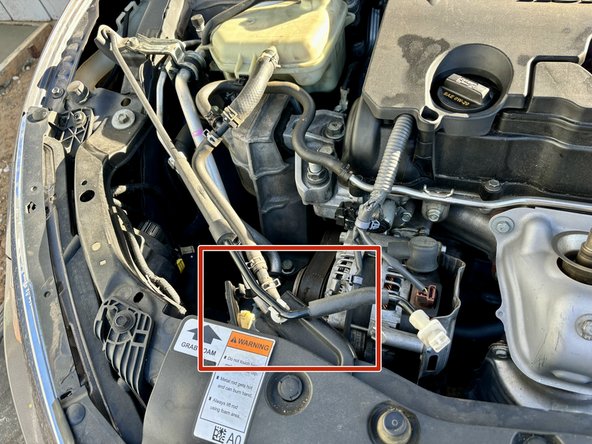
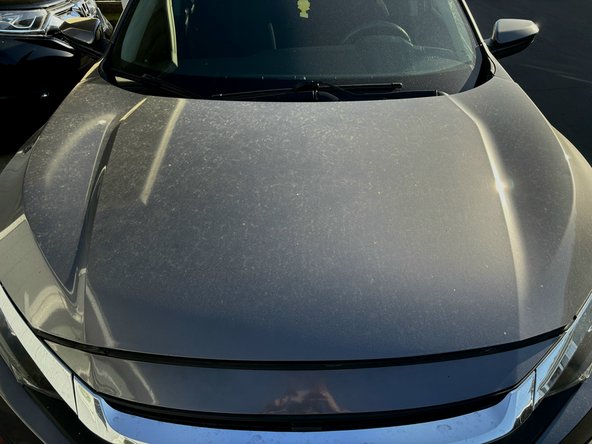
    • Locate the hood release latch under the dash on the driver’s side.

    • Pull on the release latch towards you to release the hood.

  2. 2018 Honda Civic LX Engine Air Filter Replacement: 手順 2、 3の画像 1 2018 Honda Civic LX Engine Air Filter Replacement: 手順 2、 3の画像 2 2018 Honda Civic LX Engine Air Filter Replacement: 手順 2、 3の画像 3
    • Locate the tab found on the front of your vehicle.

    • Sliding your hand under your hood, feel for the latch and release the tab.

    • Lift the hood once the tab is released.

  3. 2018 Honda Civic LX Engine Air Filter Replacement: 手順 3、 3の画像 1 2018 Honda Civic LX Engine Air Filter Replacement: 手順 3、 3の画像 2 2018 Honda Civic LX Engine Air Filter Replacement: 手順 3、 3の画像 3
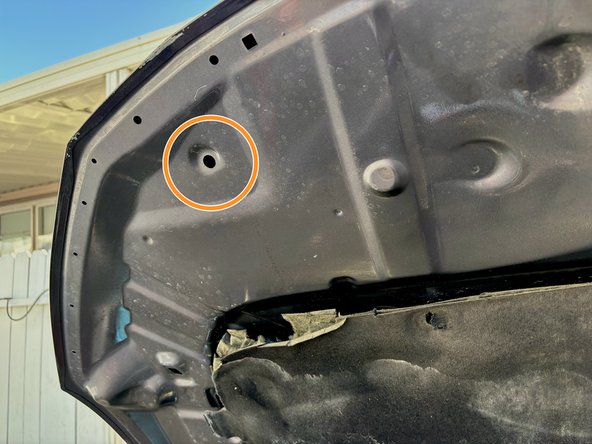
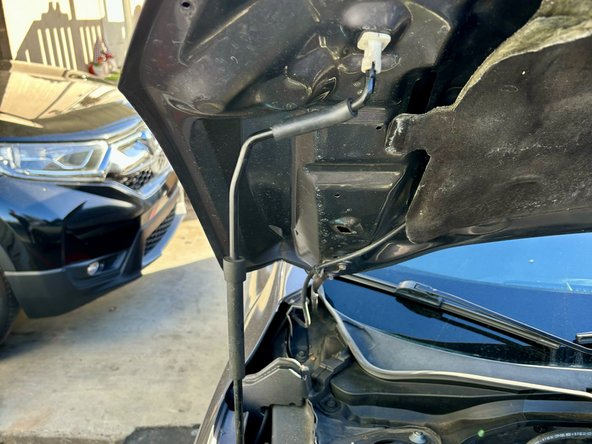
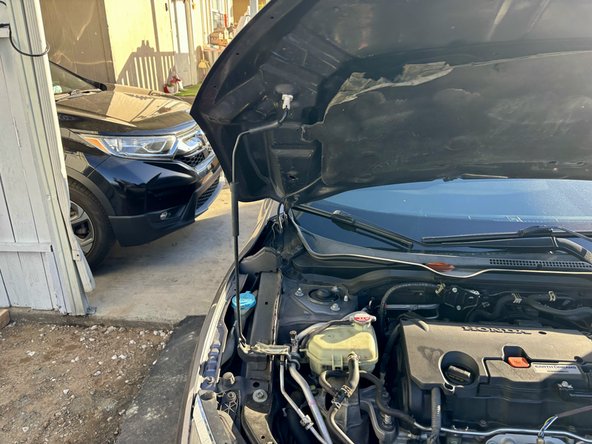
    • Hold your hood up with one hand and locate the hood support rod.

    • Pull the hood support rod off the clip and insert the tip into the hole on the top left part of your inner hood.

    • The hood should rest on the support rod on its own; you can now remove the hand that was initially supporting the hood.

  4. 2018 Honda Civic LX Engine Air Filter Replacement: 手順 4、 3の画像 1 2018 Honda Civic LX Engine Air Filter Replacement: 手順 4、 3の画像 2 2018 Honda Civic LX Engine Air Filter Replacement: 手順 4、 3の画像 3
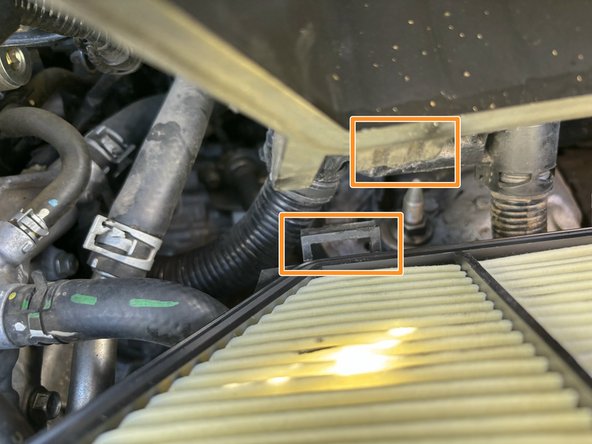
    • Now, look at your engine and towards the bottom right to locate the air box.

    • This plastic box contains your air filter, so we must get inside!

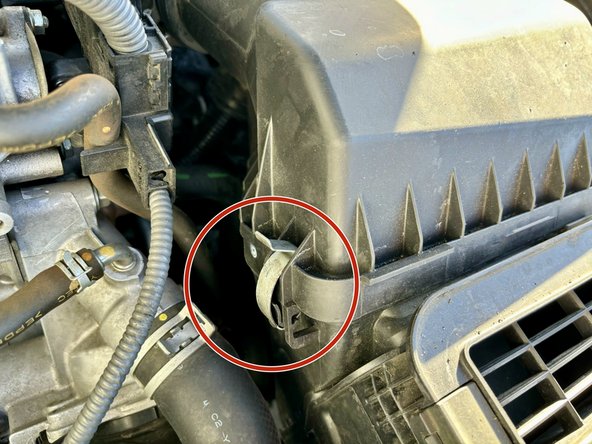
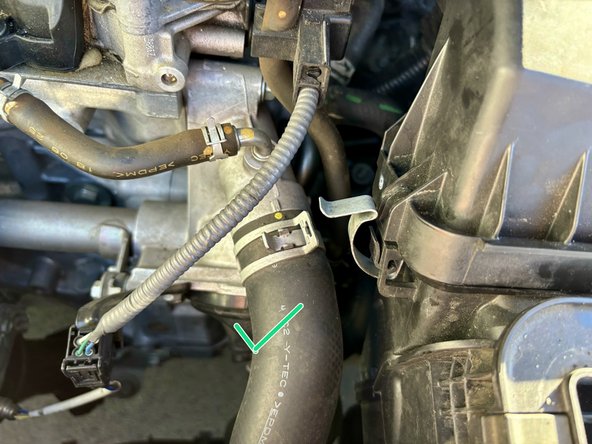
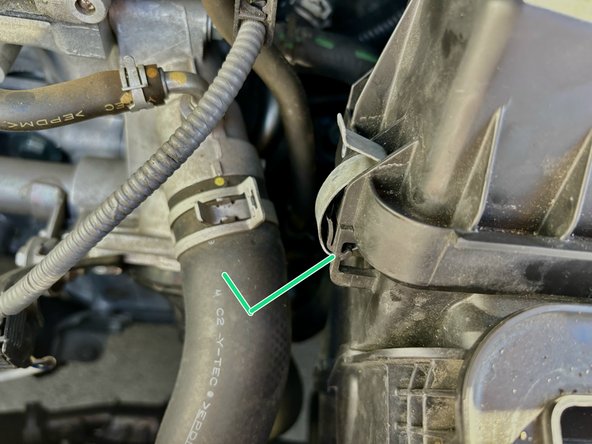
    • Locate the clips that hold the air box in place.

  5. 2018 Honda Civic LX Engine Air Filter Replacement: 手順 5、 3の画像 1 2018 Honda Civic LX Engine Air Filter Replacement: 手順 5、 3の画像 2 2018 Honda Civic LX Engine Air Filter Replacement: 手順 5、 3の画像 3
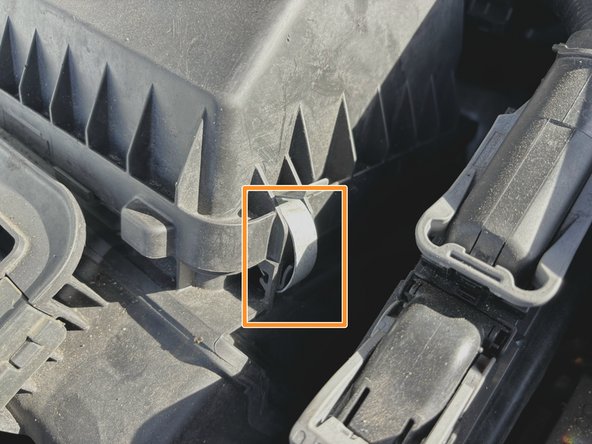
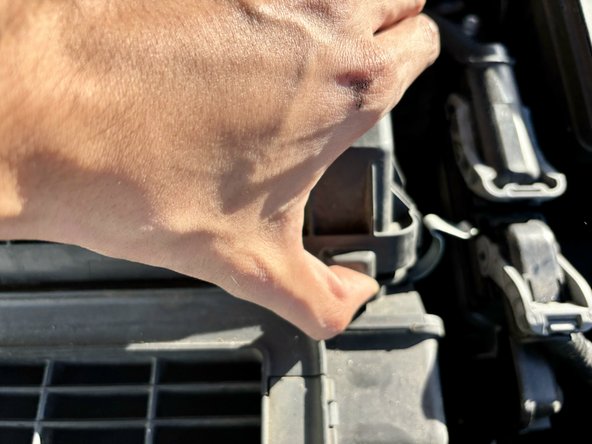
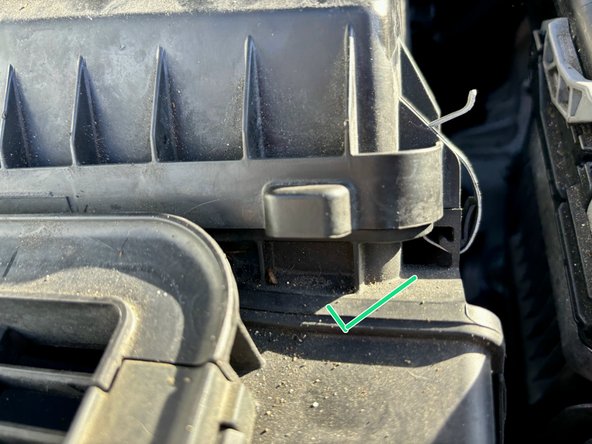
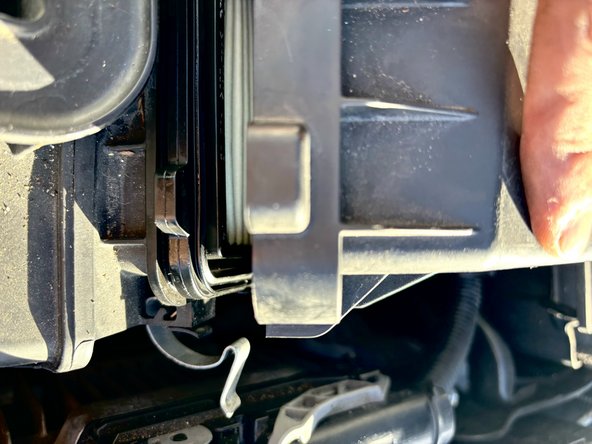
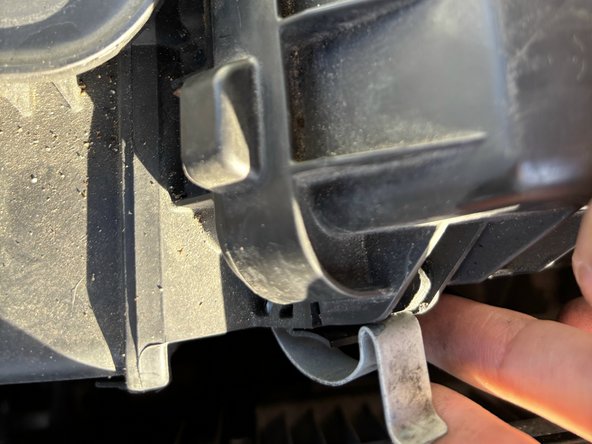
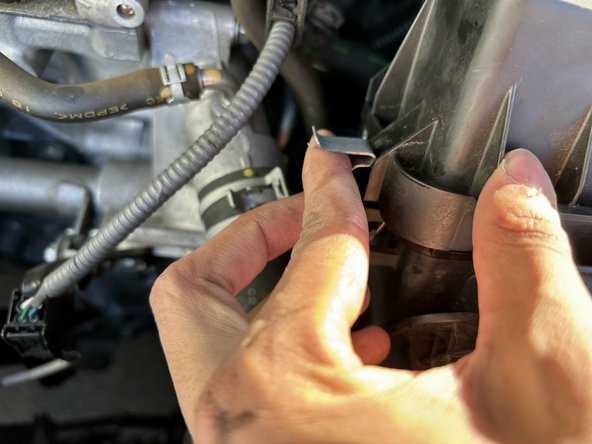
    • Unlatch the left and right-hand side snaps holding your box in place.

    • A simple flick downward should be enough to unclip the snaps.

  6. 2018 Honda Civic LX Engine Air Filter Replacement: 手順 6、 3の画像 1 2018 Honda Civic LX Engine Air Filter Replacement: 手順 6、 3の画像 2 2018 Honda Civic LX Engine Air Filter Replacement: 手順 6、 3の画像 3
    • Now, lift the unlatched air box with an upward pull.

  7. 2018 Honda Civic LX Engine Air Filter Replacement: 手順 7、 3の画像 1 2018 Honda Civic LX Engine Air Filter Replacement: 手順 7、 3の画像 2 2018 Honda Civic LX Engine Air Filter Replacement: 手順 7、 3の画像 3
    • Locate your old air filter found inside the air box.

    • Remove the old, dirty filter from the housing.

  8. 2018 Honda Civic LX Engine Air Filter Replacement: 手順 8、 3の画像 1 2018 Honda Civic LX Engine Air Filter Replacement: 手順 8、 3の画像 2 2018 Honda Civic LX Engine Air Filter Replacement: 手順 8、 3の画像 3
    この手順で使用する道具:
    Microfiber Cleaning Cloths
    $3.99
    購入する
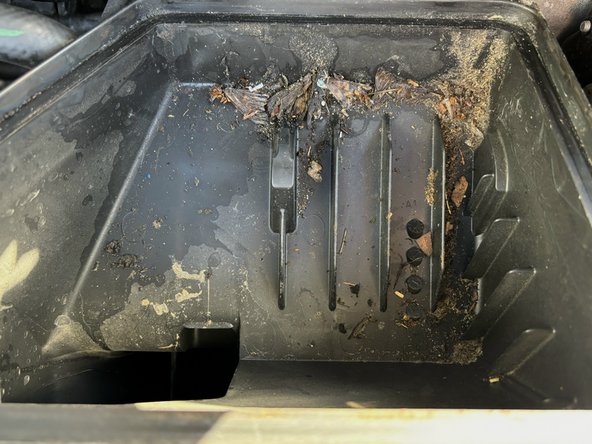
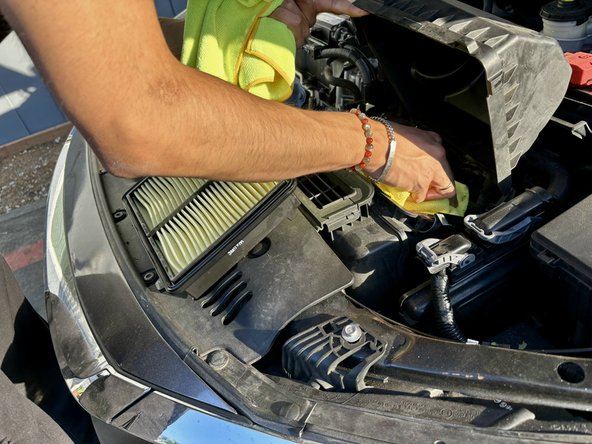
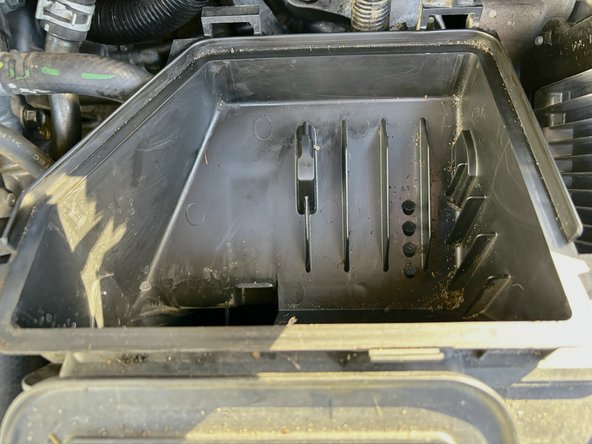
    • Your now empty air box will contain dirt and debris that we remove using a microfiber towel.

  9. 2018 Honda Civic LX Engine Air Filter Replacement: 手順 9、 3の画像 1 2018 Honda Civic LX Engine Air Filter Replacement: 手順 9、 3の画像 2 2018 Honda Civic LX Engine Air Filter Replacement: 手順 9、 3の画像 3
    • Replace the old filter with our new air filter.

    • The angled edge of your filter should be on the top left-hand side, and the ridge should be on the top when putting it in the air box.

  10. 2018 Honda Civic LX Engine Air Filter Replacement: 手順 10、 3の画像 1 2018 Honda Civic LX Engine Air Filter Replacement: 手順 10、 3の画像 2 2018 Honda Civic LX Engine Air Filter Replacement: 手順 10、 3の画像 3
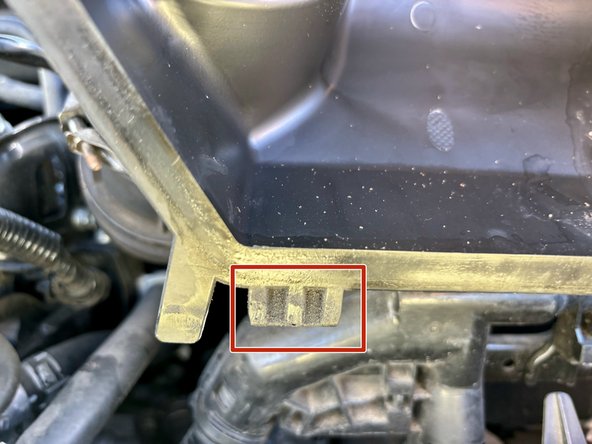
    • Locate the plastic teeth on the left and right of the air housing.

    • Line these teeth up with the notches in the back and push them in.

  11. 2018 Honda Civic LX Engine Air Filter Replacement: 手順 11、 3の画像 1 2018 Honda Civic LX Engine Air Filter Replacement: 手順 11、 3の画像 2 2018 Honda Civic LX Engine Air Filter Replacement: 手順 11、 3の画像 3
    • Push the air box's lid down and clip the previously unlatched snaps back to secure your air box.

  12. 2018 Honda Civic LX Engine Air Filter Replacement: 手順 12、 3の画像 1 2018 Honda Civic LX Engine Air Filter Replacement: 手順 12、 3の画像 2 2018 Honda Civic LX Engine Air Filter Replacement: 手順 12、 3の画像 3
    • Hold your hood up with one hand. Using your other hand, remove the hood support and latch the support onto the clip you previously took it off of.

  13. 2018 Honda Civic LX Engine Air Filter Replacement: 手順 13、 1の画像 1
    • Now you're all set to close up your hood!

終わりに

By the end of this guide, you should have been able to replace your 2018 Honda Civic LX engine air filter successfully.

作成者

3人の作成者と共同で作成されました。

Fili Zavala

メンバー登録日: 10/24/23

267 ポイント

1ガイドが承認済み

チーム

CSU Los Angeles, Team 3-94, Briggs Fall 2023 CSU Los Angeles, Team 3-94, Briggs Fall 2023人のメンバー

CSULA-BRIGGS-F23S3G94

1 メンバー

1のガイドは作成済み

0 件のコメント

コメントを追加

統計データ:

過去 24時間: 3

過去 7 日: 11

過去 30 日: 46

今までの合計 201