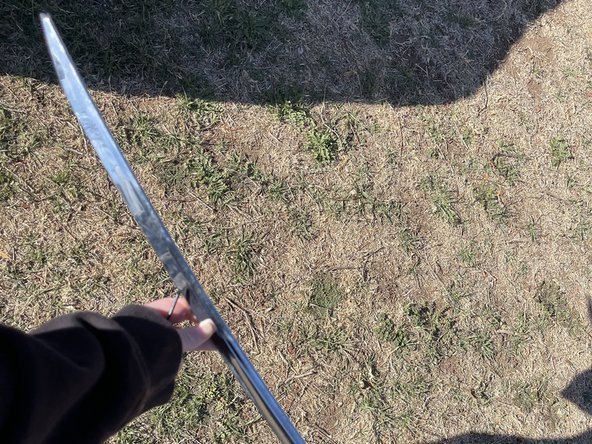
メインコンテンツにスキップ

2015 BMW 320i Rear Bumper Trim Replacement

必要な工具と部品

  1. 2015 BMW 320i  Rear Bumper Trim  Replacement, 2015 BMW 320i Rear Bumper Trim: 手順 1、 1の画像 1
    • The Rear Tailgate Trim is located on the backside of the car.

  2. 2015 BMW 320i  Rear Bumper Trim  Replacement: 手順 2、 1の画像 1
    • Remove the damaged trim by gently prying it off with a flathead screwdriver.

    • Insert the screwdriver between the car and the trim slowly and gently to avoid scratching your car.

    • Apply pressure on the trim and listen for a "POP" noise.

  3. 2015 BMW 320i  Rear Bumper Trim  Replacement: 手順 3、 1の画像 1
    • Once you hear the "POP," grab the trim and pull it towards you.

    • Go across and pull each part of the trim towards you until the whole trim is detached.

    • There are several clips along the edge of the trim holding it in place. The "POP" sounds are caused by those clips disengaging.

  4. 2015 BMW 320i  Rear Bumper Trim  Replacement: 手順 4、 1の画像 1
    • This is how the trim area should appear after removal.

    • Prepare for the replacement portion of the repair by setting aside the old damaged trim.

  5. 2015 BMW 320i  Rear Bumper Trim  Replacement: 手順 5、 2の画像 1 2015 BMW 320i  Rear Bumper Trim  Replacement: 手順 5、 2の画像 2
    • Unwrap your new BMW rear trunk chromatic trim.

    • Check for any damaged parts on your new trim. If there is any damage do not use it.

  6. 2015 BMW 320i  Rear Bumper Trim  Replacement: 手順 6、 1の画像 1
    • Your new rear trim should have clip tabs throughout the backside of the trim.

    • Line up the clip tabs with the holes on the empty trim area of your vehicle.

    • If your new trim is a missing a tab for any reason, this trim will not work and you will need to discard or return your new trim, because the repair can not be complete with any tabs missing.

  7. 2015 BMW 320i  Rear Bumper Trim  Replacement: 手順 7、 3の画像 1 2015 BMW 320i  Rear Bumper Trim  Replacement: 手順 7、 3の画像 2 2015 BMW 320i  Rear Bumper Trim  Replacement: 手順 7、 3の画像 3
    • Firmly push the clip tabs into each of the holes on the bumper of your car.

    • You should hear a click sound as the clip engages.

    • Start at either end of the trim and move along in a line until all the clips are engaged.

  8. 2015 BMW 320i  Rear Bumper Trim  Replacement: 手順 8、 1の画像 1
    • Your new trim should be all done!

    • Double check for any extra space along the top of the trim. There should not be any space that can be seen.

終わりに

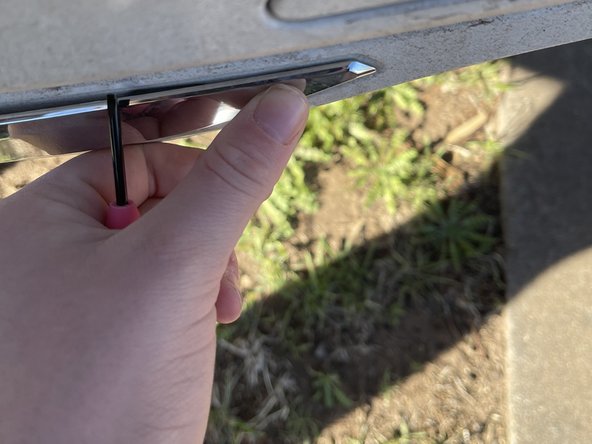
Once you have completed these steps your car will once again have an enhanced appearance!

ある他の人がこのガイドを完成しました。

作成者

1人の作成者と共同作成されました。

Taylor Wilson

メンバー登録日: 02/18/21

181 ポイント

1ガイドが承認済み

チーム

Texas Tech, Team S3-G24, Cowan Spring 2021 Texas Tech, Team S3-G24, Cowan Spring 2021人のメンバー

TTU-COWAN-S21S3G24

1 メンバー

1のガイドは作成済み

0 件のコメント

コメントを追加

統計データ:

過去 24時間: 0

過去 7 日: 9

過去 30 日: 38

今までの合計 1,112