はじめに
One item that commonly breaks in modern cars is the oxygen, or O2, sensor. When they go bad, it can lead to rough idle, and if ignored, will leave motorists stranded. It is very easily diagnosed by a trouble code or check engine light. Many auto parts store will scan cars for free, and the code provided will indicate if there is a bad O2 sensor, as well as many other possible issues.
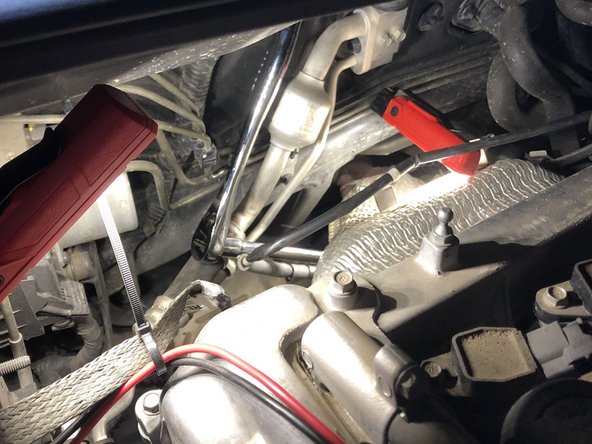
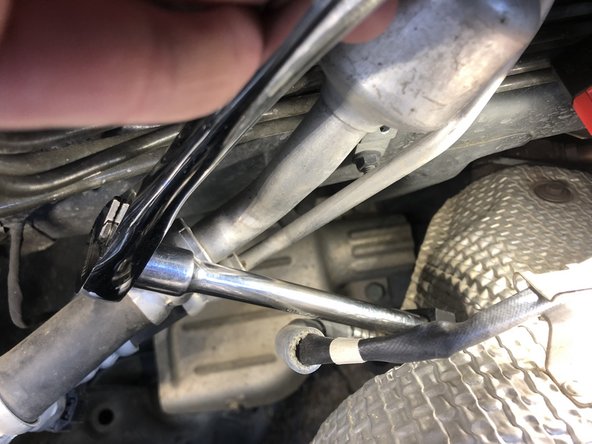
This fix will involve finding the sensor, unplugging it, unthreading it, and reinstalling a new sensor in its place.
Reminder: Engine bays are usually very dirty so a pair of work gloves or even non latex style medical gloves can make clean up easier. Thinner gloves are better for dexterity since there is a small plug to manipulate.
Reminder: More lighting is never a bad thing. Headlights, a friend holding a flashlight, or magnetic lights, while not a requirement, will definitely help.
必要な工具と部品
-
-
Use a 10 mm wrench to loosen bolt on the battery's negative (-) cable, then slide it off the (-) negative post.
-
-


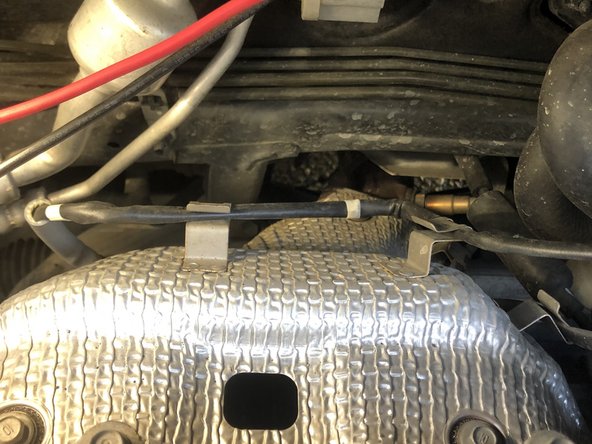

Your O2 sensor should be installed and good-to-go!
Your O2 sensor should be installed and good-to-go!

チーム

University of Memphis, Team 50-5, Kim Spring 2022 University of Memphis, Team 50-5, Kim Spring 2022人のメンバー
UM-KIM-S22S50G5
2 メンバー
1のガイドは作成済み