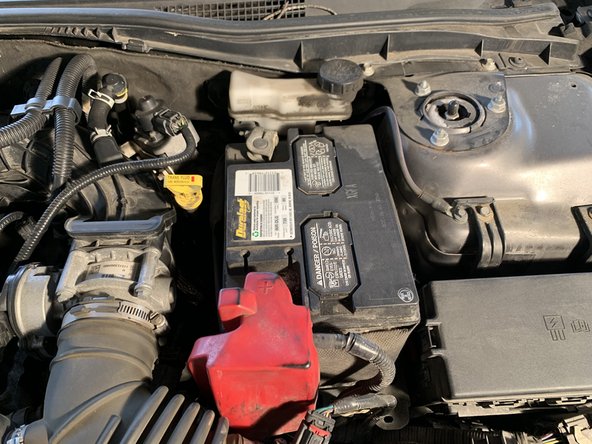
メインコンテンツにスキップ

2012 Ford Fusion Battery Replacement

必要な工具と部品

  1. 2012 Ford Fusion Battery Replacement, Battery: 手順 1、 3の画像 1 2012 Ford Fusion Battery Replacement, Battery: 手順 1、 3の画像 2 2012 Ford Fusion Battery Replacement, Battery: 手順 1、 3の画像 3
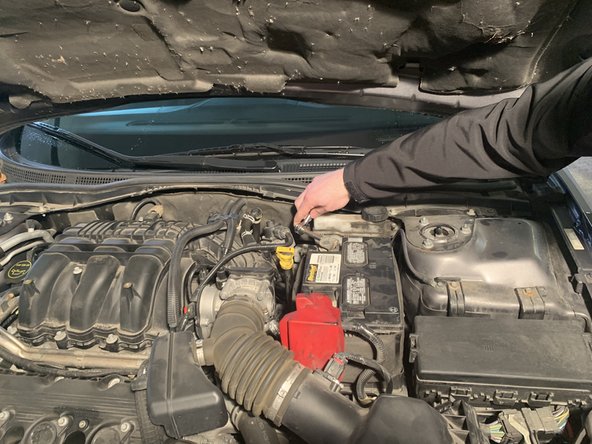
    • In order to access the car's battery, the hood must first be opened. To open the hood, begin by pulling the hood release latch.

  2. 2012 Ford Fusion Battery Replacement: 手順 2、 3の画像 1 2012 Ford Fusion Battery Replacement: 手順 2、 3の画像 2 2012 Ford Fusion Battery Replacement: 手順 2、 3の画像 3
    • In order to get the hood fully opened after pulling the release, a small latch located between the grille and hood must be lifted up.

  3. 2012 Ford Fusion Battery Replacement: 手順 3、 3の画像 1 2012 Ford Fusion Battery Replacement: 手順 3、 3の画像 2 2012 Ford Fusion Battery Replacement: 手順 3、 3の画像 3
    • Locate the battery near the top right side of the car if looking at it from the front, and also pull back the red rubber guard covering the positive terminal as shown below.

  4. 2012 Ford Fusion Battery Replacement: 手順 4、 3の画像 1 2012 Ford Fusion Battery Replacement: 手順 4、 3の画像 2 2012 Ford Fusion Battery Replacement: 手順 4、 3の画像 3
    • First locate the negative terminal and the nut that is holding the battery contact in place. To remove this, use the 8mm socket and ratchet and rotate nut counter-clockwise until it is loose enough to lift from terminal.

    • Be careful when handling the terminals to not touch both of them at the same time as that can cause serious harm. Always remove one terminal at a time starting with the negative terminal so you do not short out the battery.

  5. 2012 Ford Fusion Battery Replacement: 手順 5、 3の画像 1 2012 Ford Fusion Battery Replacement: 手順 5、 3の画像 2 2012 Ford Fusion Battery Replacement: 手順 5、 3の画像 3
    • Next locate the positive terminal with the red rubber cover. Pull back the cover and locate the nut holding the battery contact in place. Remove the contact by using the 8mm socket and ratchet to turn the nut counter-clockwise until it is loose enough to lift from terminal.

    • Be careful when handling the terminals to not touch both of them at the same time as that can cause serious harm.

  6. 2012 Ford Fusion Battery Replacement: 手順 6、 2の画像 1 2012 Ford Fusion Battery Replacement: 手順 6、 2の画像 2
    • Locate the 8mm bolt on the left side of the battery that is holding the battery in place. Using the 8mm socket and ratchet, remove bolt by turning counter-clockwise until the bolt fully comes out of the holder.

    • Remove bolt along with holder as pictured.

  7. 2012 Ford Fusion Battery Replacement: 手順 7、 3の画像 1 2012 Ford Fusion Battery Replacement: 手順 7、 3の画像 2 2012 Ford Fusion Battery Replacement: 手順 7、 3の画像 3
    • Now that all battery contacts have been removed and the battery holder has been removed, you can simply pull the battery straight up out of its original position as shown.

終わりに

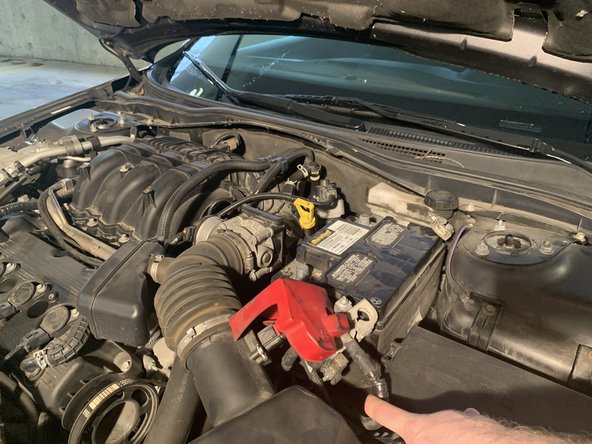
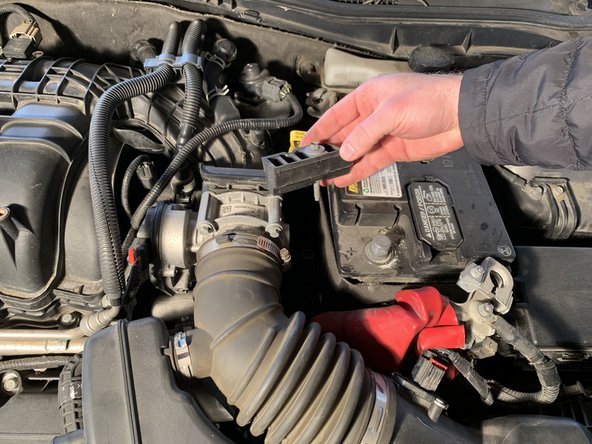
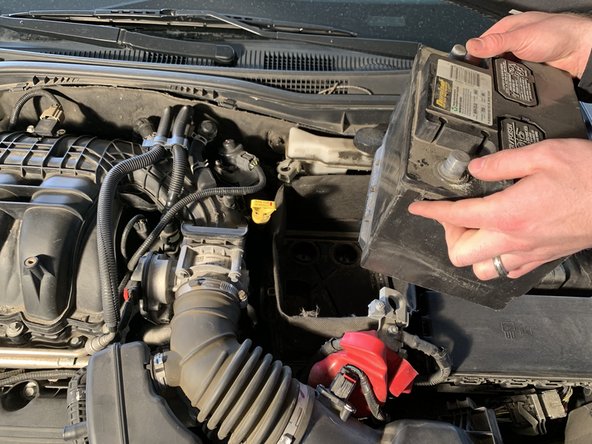
To reinstall the battery, follow these instructions in reverse order.

4 の人々がこのガイドを完成させました。

作成者

2人の作成者と共同で作成されました。

Sam Cervantes

メンバー登録日: 03/05/19

518 ポイント

2のガイドは作成済み

チーム

Purdue University Northwest, Team S2-G3, Hingst Spring 2019 Purdue University Northwest, Team S2-G3, Hingst Spring 2019人のメンバー

PNW-HINGST-S19S2G3

6 メンバー

5のガイドは作成済み

2 件のコメント

Thanks. Very Nice!

Rafael Amorim - 返信

Thank you! Can you also tell me which terminal is attached to the chassis? I'm assuming it's the negative one but you know what they say about assuming

Anita R Burke - 返信

コメントを追加

統計データ:

過去 24時間: 6

過去 7 日: 19

過去 30 日: 101

今までの合計 16,667