メインコンテンツにスキップ

2010-2014 BMW X6 Tail Light Bulb Replacement

  1. 2010-2014 BMW X6 Tail Light Bulb Replacement, Tail Light Bulb: 手順 1、 1の画像 1
    • Turn off the car and let the car cool down for 5 minutes.

  2. 2010-2014 BMW X6 Tail Light Bulb Replacement: 手順 2、 2の画像 1 2010-2014 BMW X6 Tail Light Bulb Replacement: 手順 2、 2の画像 2
    • Open the trunk using your key in the trunk key slot or by using the button under the CD player.

  3. 2010-2014 BMW X6 Tail Light Bulb Replacement: 手順 3、 3の画像 1 2010-2014 BMW X6 Tail Light Bulb Replacement: 手順 3、 3の画像 2 2010-2014 BMW X6 Tail Light Bulb Replacement: 手順 3、 3の画像 3
    • Remove the small plastic cover along the vertical edge of the trunk entrance by pulling outwards using the handle.

    • Pull outwards till pannel comes off and place down giving access to the inside of the quarter panel.

  4. 2010-2014 BMW X6 Tail Light Bulb Replacement: 手順 4、 3の画像 1 2010-2014 BMW X6 Tail Light Bulb Replacement: 手順 4、 3の画像 2 2010-2014 BMW X6 Tail Light Bulb Replacement: 手順 4、 3の画像 3
    • Grab the light bulb socket and turn it counterclockwise until it can be removed from its hole.

    • Repeat this process for the other light bulb socket.

  5. 2010-2014 BMW X6 Tail Light Bulb Replacement: 手順 5、 1の画像 1
    • Remove the light bulbs from their sockets by gently pulling them away from the connectors.

  6. 2010-2014 BMW X6 Tail Light Bulb Replacement: 手順 6、 3の画像 1 2010-2014 BMW X6 Tail Light Bulb Replacement: 手順 6、 3の画像 2 2010-2014 BMW X6 Tail Light Bulb Replacement: 手順 6、 3の画像 3
    • Place the new bulb in the original hole.

    • Turn clockwise to secure the bulb in place.

  7. 2010-2014 BMW X6 Tail Light Bulb Replacement: 手順 7、 2の画像 1 2010-2014 BMW X6 Tail Light Bulb Replacement: 手順 7、 2の画像 2
    • Place Plastic cover along the bottom of the trunk next to the corresponding hole.

    • Push cover in till it is flush with a vertical wall of the trunk.

  8. 2010-2014 BMW X6 Tail Light Bulb Replacement: 手順 8、 2の画像 1 2010-2014 BMW X6 Tail Light Bulb Replacement: 手順 8、 2の画像 2
    • Close trunk and admire your hard work!

終わりに

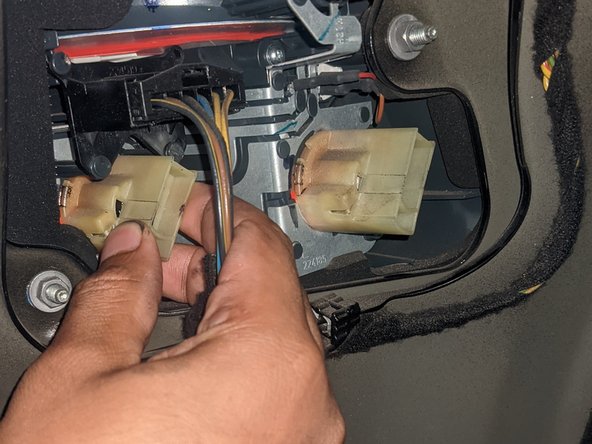
To reassemble your device, follow these instructions in reverse order.

ある他の人がこのガイドを完成しました。

作成者

1人の作成者と共同作成されました。

Juan M Perez

メンバー登録日: 10/05/21

190 ポイント

1ガイドが承認済み

チーム

CSU Los Angeles, Team 11-99, Grodsky Fall 2021 CSU Los Angeles, Team 11-99, Grodsky Fall 2021人のメンバー

CSULA-GRODSKY-F21S11G99

1 メンバー

1のガイドは作成済み

コメント 1 件

コメントを追加

統計データ:

過去 24時間: 0

過去 7 日: 21

過去 30 日: 86

今までの合計 2,221