はじめに
I am going to show you how to remove your damaged headlight and replace it with a new, working headlight.
必要な工具と部品
-
-
Open hood and locate the section that holds the passenger headlight.
-
Remove the three bolts holding the headlight in place. *Note* If they are rusted like mine were, be prepared to use some elbow grease.
-
Put bolts off to the side for reassembly.
-
-
-
There is a red latch to release the hold on the connection. Push that down then remove the cable attaching to the right turn signal's bulb. *Note* You can remove just the cable or the bulb depending on your replacement.
-
The next cable is attached to main bulb in your headlight. Twist the black circle around the cord counter clockwise and you can remove the bulb OR just unclip the latch holding the cable in place. *Note* My replacement came with bulbs so I just took the cable off.
-
-
-
-
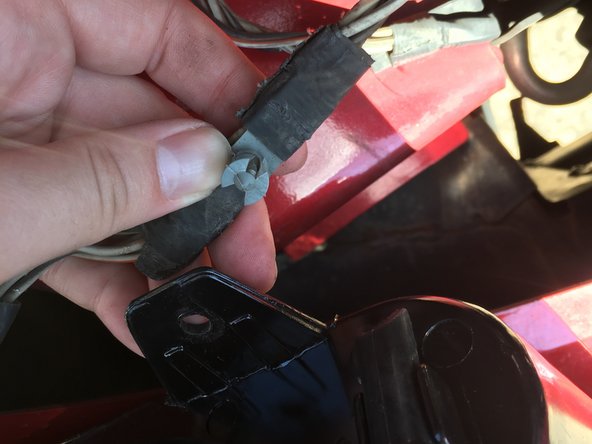
Push down on the gray insert that is holding the cables close to the headlight.
-
Be careful with the cable to not bend or damage it.
-
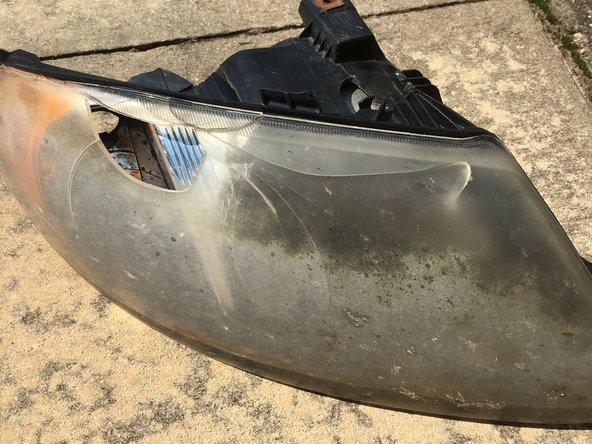
Now put the damaged headlight aside to properly dispose of.
-
-
-
Now reattach all the cables careful by doing these instructions in reverse.
-
Use the black handle, on top of the headlight, to help you align the holes to bolt the headlight in correctly. *Note* I screwed them in a little in a time clockwise to align it properly and not to cross thread the bolts.
-
Test the lights to assure they are coming on and enjoy your new headlight.
-


To reassemble your device, follow these instructions in reverse order. Make sure to test the headlight to ensure cables are properly working and your headlights/turn signal are coming on.
To reassemble your device, follow these instructions in reverse order. Make sure to test the headlight to ensure cables are properly working and your headlights/turn signal are coming on.
2 の人々がこのガイドを完成させました。

チーム
