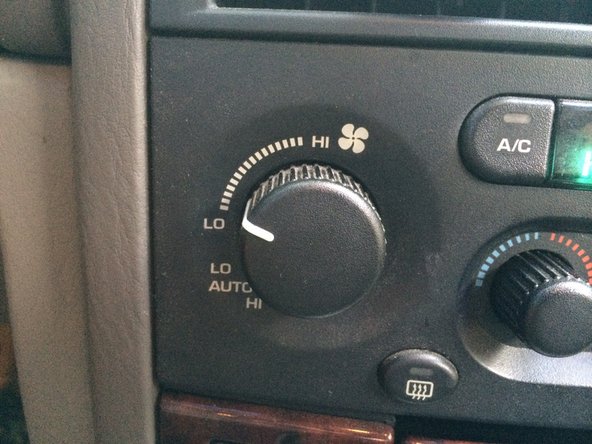
メインコンテンツにスキップ

1999-2004 Jeep Grand Cherokee AC/Heater Fan Wire Connector Repair

必要な工具と部品

  1. 1999-2004 Jeep Grand Cherokee AC/Heater Fan Wire Connector Repair, 1999-2004 Jeep Grand Cherokee AC/Heater Fan Wire Connector Repair: 手順 1、 3の画像 1 1999-2004 Jeep Grand Cherokee AC/Heater Fan Wire Connector Repair, 1999-2004 Jeep Grand Cherokee AC/Heater Fan Wire Connector Repair: 手順 1、 3の画像 2 1999-2004 Jeep Grand Cherokee AC/Heater Fan Wire Connector Repair, 1999-2004 Jeep Grand Cherokee AC/Heater Fan Wire Connector Repair: 手順 1、 3の画像 3
    • Place the vehicle in park, activate the parking brake, and leave the car running.

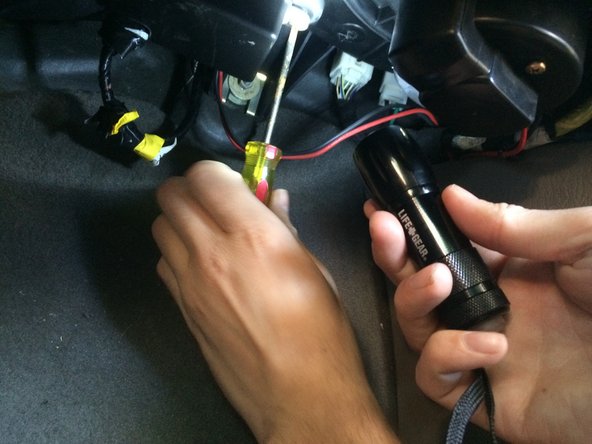
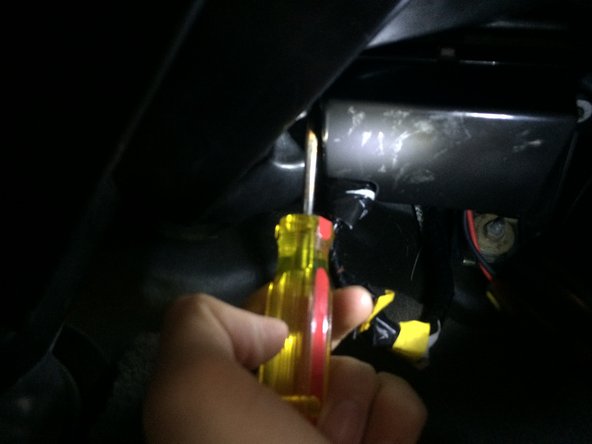
    • The blower motor is located under the dash on the passenger side of the vehicle.

    • For easier access to the wiring push the seat back, and place your tools on the floor of the car .

  2. 1999-2004 Jeep Grand Cherokee AC/Heater Fan Wire Connector Repair: 手順 2、 2の画像 1 1999-2004 Jeep Grand Cherokee AC/Heater Fan Wire Connector Repair: 手順 2、 2の画像 2
    • The blower motor adapter is a bundle of three wires located on the left side.

    • While the vehicle's ignition is on, push and pull gently on the wire connection.

    • If the blower motor turns on, you have identified the problem and following this guide will help you fix it

    • If the fan does not turn on, the damage may not be fixable without purchasing new parts.

    • For your safety do not grasp any wires you can not see. Do not attempt to grasp any wires that are not covered in insulation and/or electrical tape.

  3. 1999-2004 Jeep Grand Cherokee AC/Heater Fan Wire Connector Repair: 手順 3、 3の画像 1 1999-2004 Jeep Grand Cherokee AC/Heater Fan Wire Connector Repair: 手順 3、 3の画像 2 1999-2004 Jeep Grand Cherokee AC/Heater Fan Wire Connector Repair: 手順 3、 3の画像 3
    • Turn off the ignition on the vehicle and proceed with the following steps.

    • There are two screws holding the adapter in place. Using a Phillips head screwdriver, remove both screws in order to remove and gain access to the adapter.

    • The two screws are identical. Be careful not to lose them.

    • Be sure the car is completely off before unscrewing anything.

  4. 1999-2004 Jeep Grand Cherokee AC/Heater Fan Wire Connector Repair: 手順 4、 2の画像 1 1999-2004 Jeep Grand Cherokee AC/Heater Fan Wire Connector Repair: 手順 4、 2の画像 2
    • The fault typically occurs at the connection between the three wires and the adapter box.

    • Observe the damage and decide if electrical tape will be enough to hold the wires in place.

    • If so, using electrical tape, wrap the wires tightly until they are securely in place.

    • Replacement parts are available for purchase if the damage is beyond your repair capabilities.

  5. 1999-2004 Jeep Grand Cherokee AC/Heater Fan Wire Connector Repair: 手順 5、 3の画像 1 1999-2004 Jeep Grand Cherokee AC/Heater Fan Wire Connector Repair: 手順 5、 3の画像 2 1999-2004 Jeep Grand Cherokee AC/Heater Fan Wire Connector Repair: 手順 5、 3の画像 3
    • Screw the adapter back into place.

    • Turn on the car and test the AC/Heater to make sure it works.

終わりに

Enjoy your working AC and Heater!

10 の人々がこのガイドを完成させました。

作成者

7人の作成者と共同で作成されました。

William Schaller

メンバー登録日: 02/24/15

443 ポイント

1ガイドが承認済み

チーム

Cal Poly, Team 24-1, Green Winter 2015 Cal Poly, Team 24-1, Green Winter 2015人のメンバー

CPSU-GREEN-W15S24G1

4 メンバー

4のガイドは作成済み

6 件のコメント

radical, thank you for this!

cgerdes714 - 返信

Very good job - thanks for the info

I own one WJ 4.0 m1999

The ac doesn’t turn on(no lights)

Is this loose wire connection responsible for this?

ANGELO - 返信

good job thanks

rad8253 - 返信

Thank you this solved it for me easy simple.thank you

Jessica v - 返信

Thanks so much for this. My heater fan was faltering when I most need the Airco to work in the European heatwave of 2022. I had a feeling it might be a loose connection because it would come alive when banging on the dashboard or hitting a bump in the road.

Followed these instructions and found a break in the connection between wire and connector in one of the wires of the adaptor. How this came to be, is a mystery but I managed to open the little female metal pin connector at the end of the wire, reattach it with fiddling and some tape en reassembled the thing. Works perfect for now. Must say the job was not too comfortable due to the strange twisting weird posture you need to reach the %#*@ thing!

Gideon Attwell - 返信

コメントを追加

統計データ:

過去 24時間: 3

過去 7 日: 13

過去 30 日: 76

今までの合計 38,394