必要な工具と部品
-
-
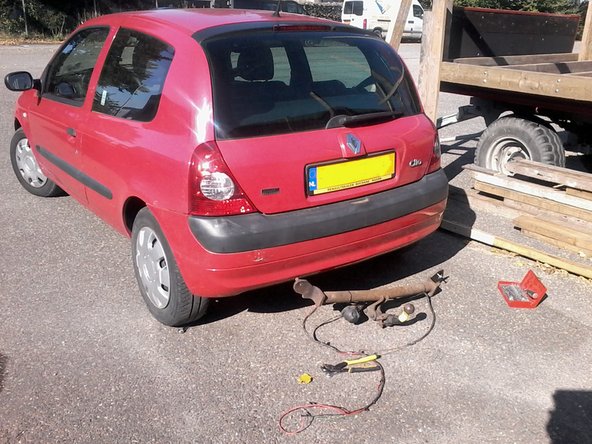
Make sure you have all the components: 1 bar including hook and 3 flat thick metal bars with angle and holes. Also at least 8 bolts M10, 4 nuts, thick washers, and in addition have cable clips that connect automotive cables.
-
Make sure you have all the tools: torx 20 and 30, 1x M6 tube wrench, 2x M10 wrench, (a ratchet wrench is welcome treat, with it you also don't have to remove the left wheel to get to the last bolt)
-
-
-
Remove the T20 torx one left and one right.
-
On the inside of the wheelhouse there is one wing-nut (most likely weak black plastic ones if there still there ;)
-
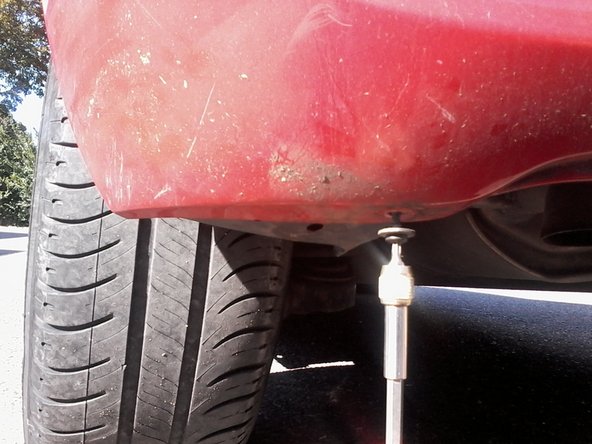
Remove the 2 M6 bolts located under the bumper at the rear of the car (under the licence plate) they hold the white plastic insides of the bumper.
-
-
-
-
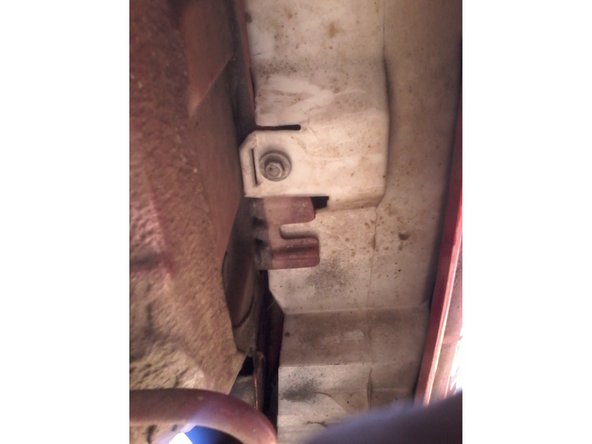
Remove the 2 bolts Left and 2 Right inside the top of the wheelhouses. They hold a bit of plastic that we have to seperate from the bumper. For this bend the bumper outwards and make sure the clips of the plastic let go gently.
-
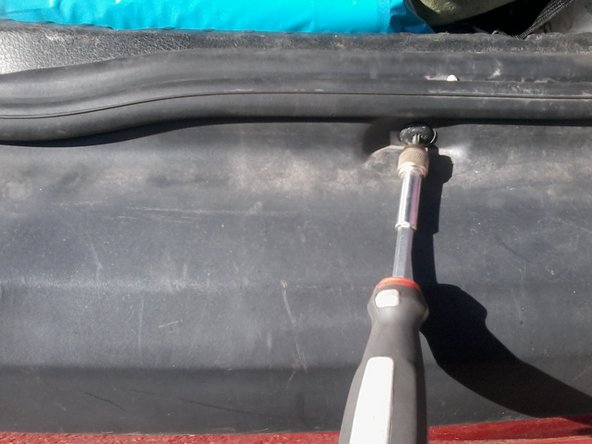
Than looking at the bumper at the rear end of the car with an open trunk you can see two T30 screws in the matt black abs. Undo those..
-
That's it, you should be able to lift the bumper of. (disconnect the plate light while the separating)
-
-
-
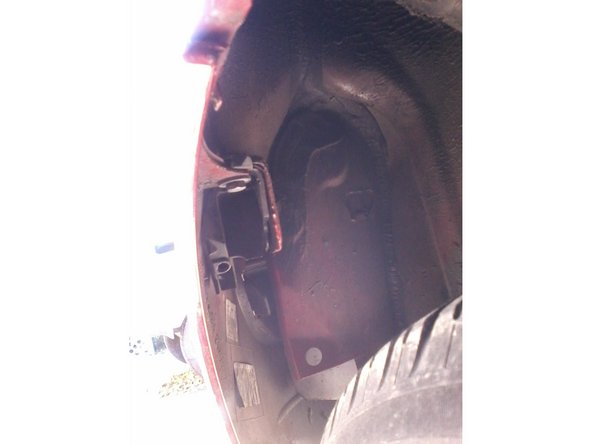
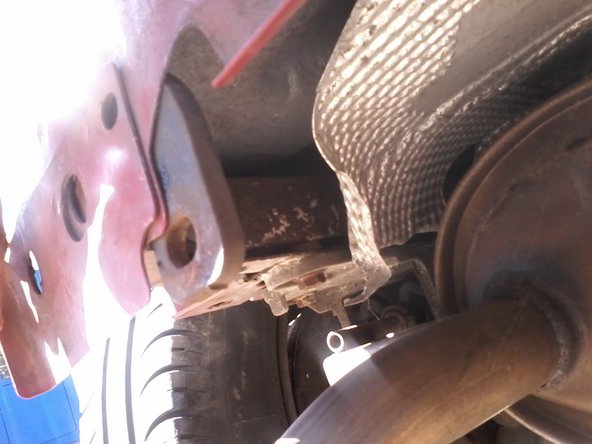
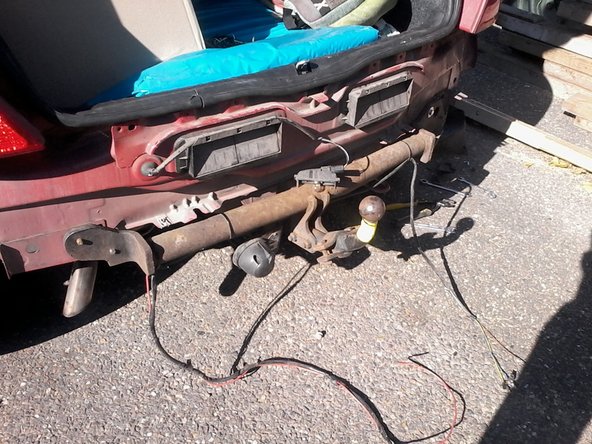
The biggest/left one is placed above the alu-heat shield. (you can just bend it if needed). The trick is that the bar goes into metal profile of the cars body. The bolt at the back will be hard to tighten if you only have normal wrenches..
-
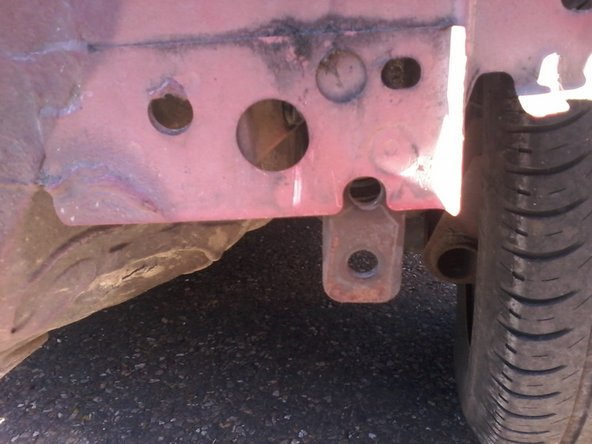
On the right side there should be 2 bars left and right of the metal profile. (just one in my case.
-
-
-
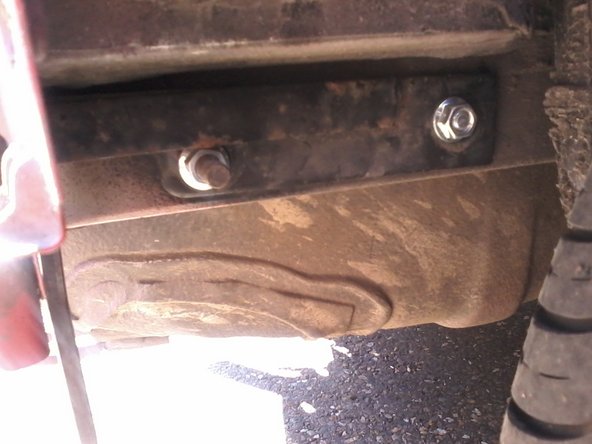
This is what it should look like bolted on. (be sure to bolt it on strong (but dont break any bolts))
-
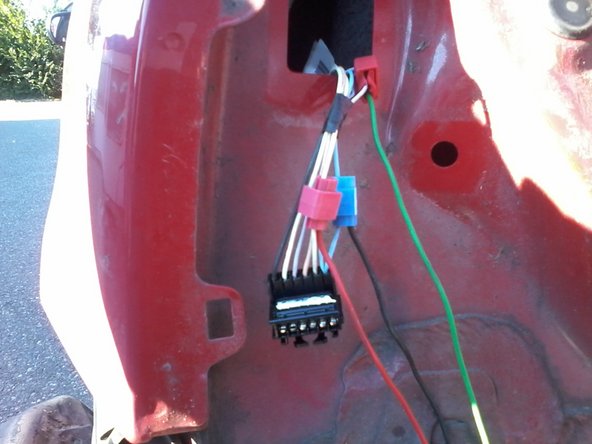
Next up the wireing.. In my case from bar to car Left side: the Green-wire (indicator L) goes to Purple wire 3, Red (brakelight) goes to the white wire 5 and Black (normal light L) goes to Blue wire 6.
-
Wireing.. In my case from bar to car Right side: The Brown-wire (earth) to Black wire 1, Yellow (indicator R) to Brown-wire 3 and the Blue-wire (normal light R) to Blue-wire 6. (There are many images of how the plug should be hooked up)
-
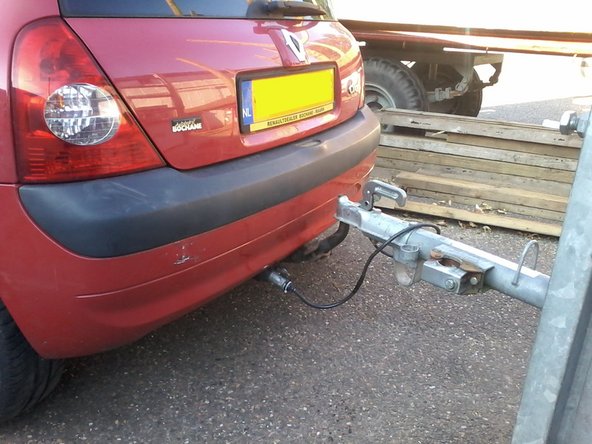
Now reverse all the steps that got the bumper of and apriciate your work.
-
Ow Yeah! how awesome is that? Well i like it.
-

To reassemble your device, follow these instructions in reverse order.
To reassemble your device, follow these instructions in reverse order.
ある他の人がこのガイドを完成しました。