メインコンテンツにスキップ

12-String Takamine G Series Guitar String Replacement

必要な工具と部品

  1. 12-String Takamine G Series Guitar String Replacement, Guitar String: 手順 1、 3の画像 1 12-String Takamine G Series Guitar String Replacement, Guitar String: 手順 1、 3の画像 2 12-String Takamine G Series Guitar String Replacement, Guitar String: 手順 1、 3の画像 3
    • Turn the tuning peg corresponding to the string you want to change clockwise until the string is completely loose.

    • This is only if the string is damaged but not completely broken (if the string is completely broken skip to step 2).

  2. 12-String Takamine G Series Guitar String Replacement: 手順 2、 2の画像 1 12-String Takamine G Series Guitar String Replacement: 手順 2、 2の画像 2
    • Use wire cutters to take out the pins located on the bridge of the guitar and completely release the string from the guitar.

  3. 12-String Takamine G Series Guitar String Replacement: 手順 3、 2の画像 1 12-String Takamine G Series Guitar String Replacement: 手順 3、 2の画像 2
    • Place the new string into the hole in the bridge where the pin was taken out.

  4. 12-String Takamine G Series Guitar String Replacement: 手順 4、 3の画像 1 12-String Takamine G Series Guitar String Replacement: 手順 4、 3の画像 2 12-String Takamine G Series Guitar String Replacement: 手順 4、 3の画像 3
    • Place the pin back into the hole to secure the string.

  5. 12-String Takamine G Series Guitar String Replacement: 手順 5、 1の画像 1
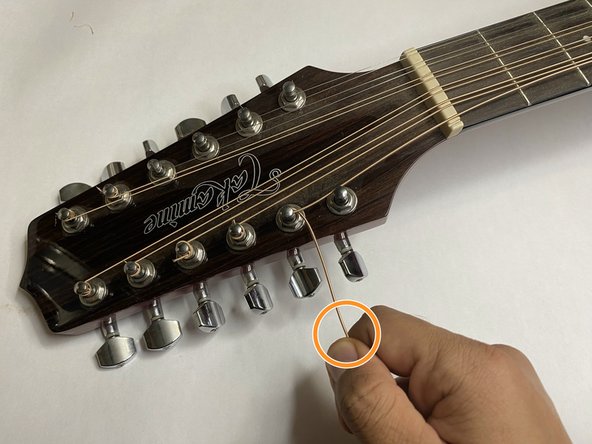
    • Grab the string and put it through the hole located on the tuning post of the guitar.

  6. 12-String Takamine G Series Guitar String Replacement: 手順 6、 3の画像 1 12-String Takamine G Series Guitar String Replacement: 手順 6、 3の画像 2 12-String Takamine G Series Guitar String Replacement: 手順 6、 3の画像 3
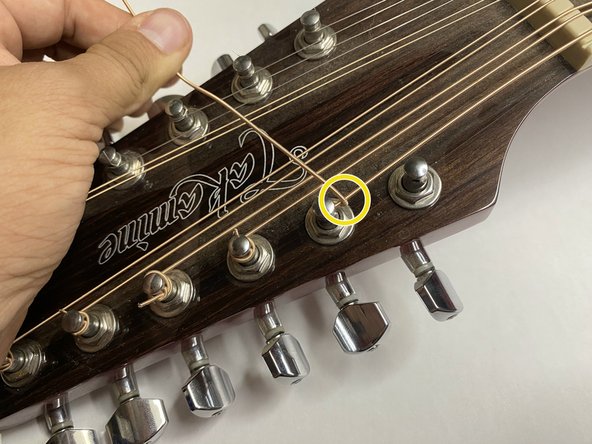
    • Take the string and wrap it around and underneath itself.

    • Pull the string taught.

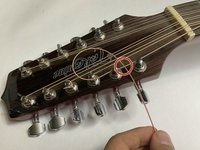
    • Twist the string over itself and than cut off the excess string.

  7. 12-String Takamine G Series Guitar String Replacement: 手順 7、 2の画像 1 12-String Takamine G Series Guitar String Replacement: 手順 7、 2の画像 2
    • Turn the tuning peg counterclockwise to tighten the string.

終わりに

To reassemble your device, follow these instructions in reverse order.

作成者

2人の作成者と共同で作成されました。

Rey Navarro

メンバー登録日: 09/27/23

145 ポイント

1ガイドが承認済み

チーム

University of Arizona, Team 6-34, Cools Stephens Fall 2023 University of Arizona, Team 6-34, Cools Stephens Fall 2023人のメンバー

ARIZONA-COOLS STEPHENS-F23S6G34

1 メンバー

1のガイドは作成済み

0 件のコメント

コメントを追加

統計データ:

過去 24時間: 0

過去 7 日: 4

過去 30 日: 11

今までの合計 65