はじめに
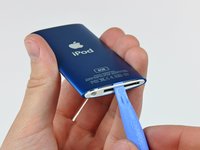
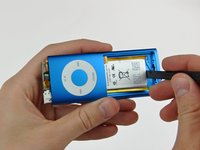
ロジックボードアセンブリを交換すると、バッテリーと同じようにフラッシュメモリーも新しくなります。
必要な工具と部品


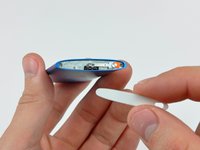


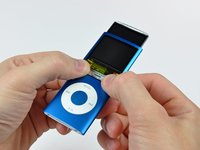
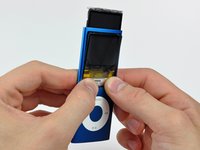


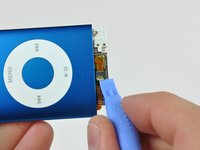
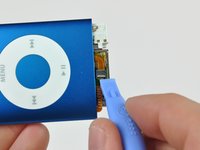


デバイスを再度組み立てるには、次の説明書の逆の順番で組み立ててください。
37 の人々がこのガイドを完成させました。
以下の翻訳者の皆さんにお礼を申し上げます:
100%

これらの翻訳者の方々は世界を修理する私たちのサポートをしてくれています。 あなたも貢献してみませんか?
翻訳を始める ›

7件のガイドコメント
Wouldn't it be easier to open the ZIF socket whilst it is still stuck down?
Pete Green - 返信
On step 11 I found that the cable was still stuck down by the bit under the metal case. The opening tool failed to get at this.
I cut the live head off a match and trimmed it to a long chisel edge.
Pine is soft,strong and non conductive.I was able to poke under the metal body and release the remaining adhesive seal.
Pete Green - 返信
Failure. Another broken iPod due to the incompleteness of step 20. I will add a step 21 with description but I will need some nice looking pictures.
Gallomimia - 返信
Mine broke because of accidentally pulling the board out too fast, but it's dead anyways.
TOOLS: I don't see any offset legs in the screws themselves, however either my 00 phillips is bigger than yours, or these screws are actually 000 phillips. In either case, I found that the heads were full of adhesive, and using a tiny flathead driver and a sharp knife I was able to clear it out just enough to get the screws out.
Gallomimia - 返信