この翻訳は、ソースガイドの最新の更新を反映していない可能性があります。 翻訳の更新に協力してください。 または ソースガイドを参照してください。
はじめに
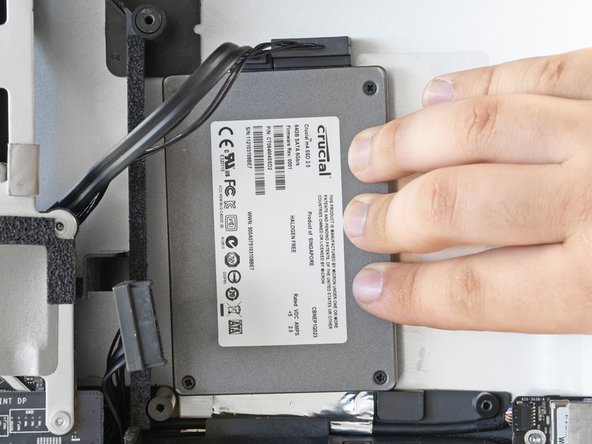
这个教程会帮助您使用双驱动器组件来添加一块机械硬盘或固态硬盘。该操作不需要永久移除或停止使用您的光驱。
必要な工具と部品


355 の人々がこのガイドを完成させました。
以下の翻訳者の皆さんにお礼を申し上げます:
95%


これらの翻訳者の方々は世界を修理する私たちのサポートをしてくれています。 あなたも貢献してみませんか?
翻訳を始める ›

71 件のコメント
Excellent guide. Thank you!
I got through everything, turned on the iMac, got the start up gong, and ... nothing. Screen stayed black and the fans started blowing like crazy, indicating failure of Apple Hardware Test. All my attempts to remedy (zap PRAM, reset SMC) failed. Uh oh.
Opened the machine back up, took out the LCD, and re-seated all four connections from display panel to logic board. Crossed my fingers and put it back together. This time, the displayed turned on, the Apple logo appeared, system booted up, and the new SSD appeared on the desktop. Yay!
The connectors from the LCD are delicate. It's tricky to seat them properly without damaging them, but don't close it up without a positive click on each one.
The upgrade has been fantastic so far. SanDisk 120GB SSD. Dramatic speed improvement. Well worth all the surgery on the machine.
in step 22 you can see the wifi cables are not connected anymore. but there is no step that shows you should disconnect them
+1 Unfortunately mine has been broken (CH1 cable is out from the UFL connector). Unfortunately I do not now how to repair it.
It would be important to add this step in order to protect others falling into the same issue.
PeterZ -
i followed this guide to the T. used a 240gig Corsair GS and after it gets far along the boot process the fans blow at max speed! i took the monitor off again to make sure i had all the connections in the right place. there was one i was missing... the ambient temp lol. but i plugged it back in and still fans blow full blast :( gonna keep messing with it to see if i can figure it out :)