
ボタンの縫い付け

Brittany McCrigler とその他 9 人の作成者
最終更新日: 2026年9月14日
閲覧: 2.6万
統計データ:
- 過去24時間:
- 26
- 過去7日:
- 147
- 過去30日:
- 655
- 今までの合計
- 26,061
コメント: 10
手順に関する5件のコメント, 5 guide comments.
修理ガイドのコメントへ完了済み: 64 65
64人のユーザーがこのガイドを「完了」させました。あなたも加わりませんか?
あなたを含む、65人のユーザーがこのガイドを使って修理を「完了」させました。素晴らしいです!
お気に入り: 79 80
79人のユーザーがこのガイドをお気に入りに登録しています。あなたもリストに入れませんか?
あなたを含む、80人のユーザーがこのガイドをお気に入りに登録しています。
おすすめのガイド
このガイドはiFixitスタッフによって太鼓判が押されています。
パタゴニア
iFixitは人気のPatagoniaブランド製品を修繕するための修理ガイドをパタゴニア社と共同で提供しています。
はじめに
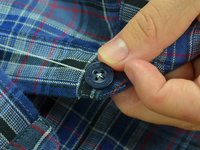
手順 1 に進む ↓ボタンの交換は、頻繁に必要になる衣類の修理方法です。ボタン付けは修理の中でも、とりわけカンタンです。この修理ガイドでは、標準の4穴ボタンを針と糸でつける方法を説明します。この修理ガイドでは、見やすくするために対照的な糸を使用していますが、実際にボタンをつけるときは、生地の色に一致する糸を使用することをお勧めします。
警告!小さな部品。3歳以下のお子様向けの衣類において、Patagoniaはこの修理の実施を推奨していません。その場合は、専門の修理サービスへ製品を返送することをお勧めします。
必要な工具と部品
-
-
-
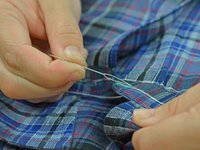
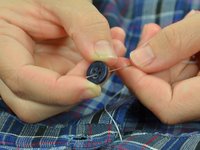
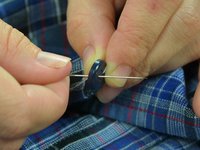
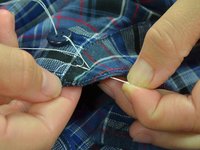
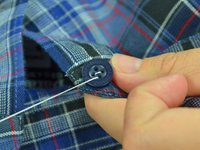
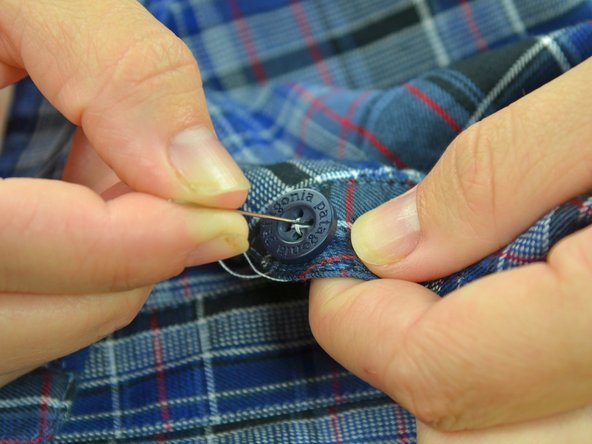
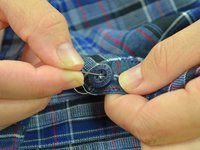
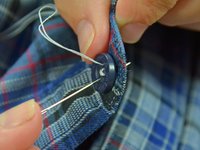
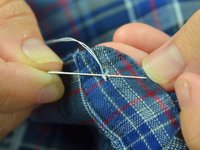
糸を一度も通していない穴に針を通します。
-
布地ではなく、ボタンのみに針を通するようにしてください。
-
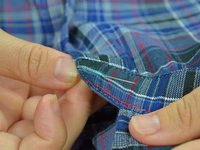
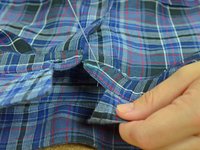
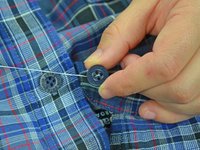
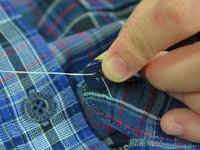
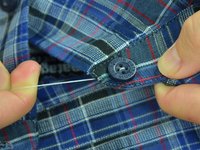
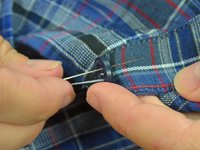
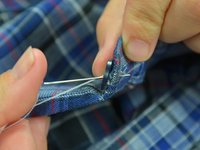
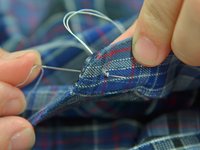
今までの縫い目に近いところを狙って、針を布に通します。
-
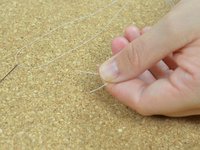
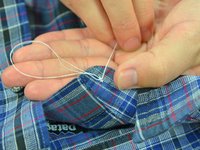
糸をぴんと張ります。
-
-
-
-
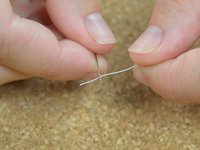
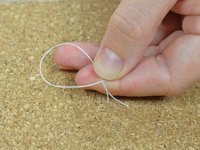
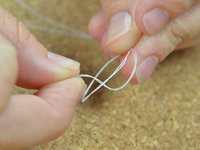
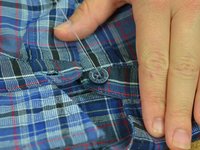
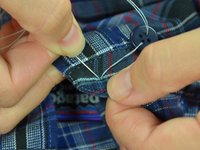
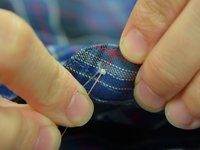
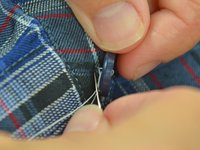
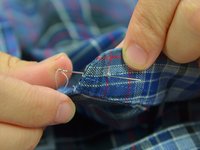
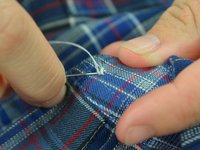
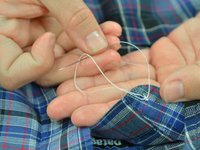
糸にたるませます。たるみによってできた輪にに針を通します。
-
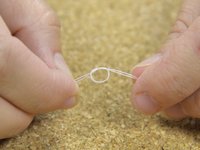
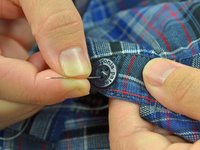
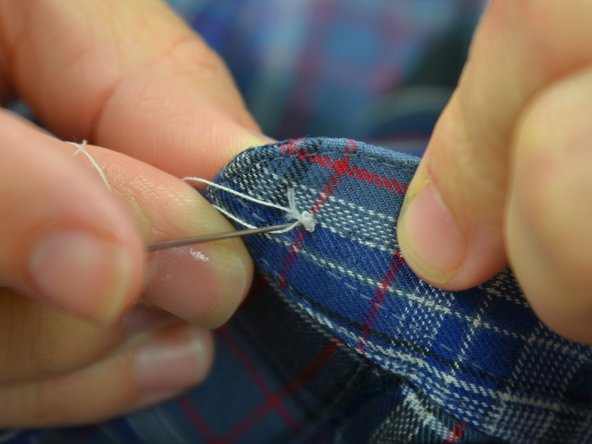
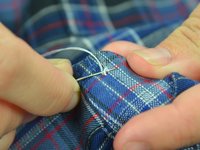
糸をぴんと張って引っ張り、結び目を作ります。
-
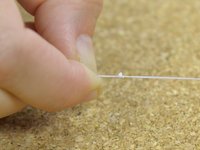
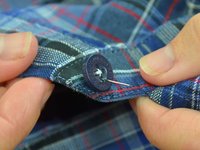
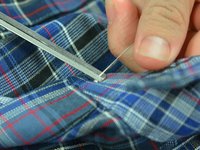
手順15と16をもう一度繰り返して、結び目を2つ作ります。
-

 FixBotに聞いてみる





























64 の人々がこのガイドを完成させました。
以下の翻訳者の皆さんにお礼を申し上げます:
100%


これらの翻訳者の方々は世界を修理する私たちのサポートをしてくれています。 あなたも貢献してみませんか?
翻訳を始める ›


5件のガイドコメント
What helps after the last step 14 is to wrap the thread around and around a few times underneath the button itself (binding all the threads together) and making one last pass through the cloth before the final knot. This makes the repair much more durable.
Wrapping the threads underneath the button to create a shank is useful for coat buttons where the fabric is thick and you don’t want the fabric to pucker. As noted, it adds durability to the button attachment. On a shirt collar, as seen here, it would create too much bulk where you need the button to lie quite flat, so this method is quite sufficient.
Thanks Jonathan. Great insight.
Louie Leung - 返信 共有
