はじめに
画面が壊れていませんか?このガイドを読めばiPod Touchのディスプレイアセンブリを交換することができます。
必要な工具と部品
-
-
ディスプレイガラスが飛散している場合は、さらに広がらないようにガラス上にテープを貼ってください。
-
透明な梱包用テープをiPodのディスプレイ上に貼り、ディスプレイ表面全体を覆います。
-
-
-
-
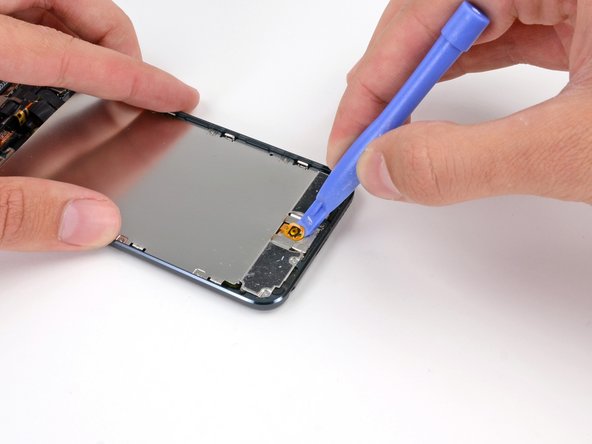
画像に示されているオレンジ色ではなく黒いホームボタンアセンブリがある場合は、この手順をスキップできます。 ボタンはLCDプレートに取り付けられていないため、作業中、取り外す必要はありません。
-
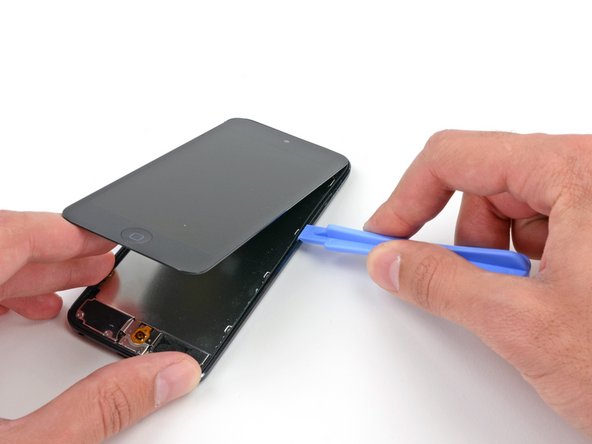
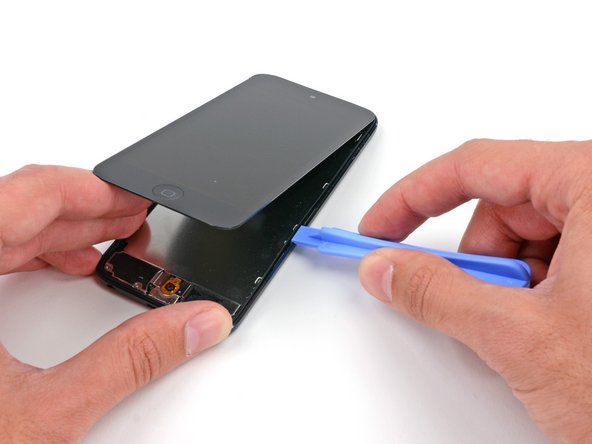
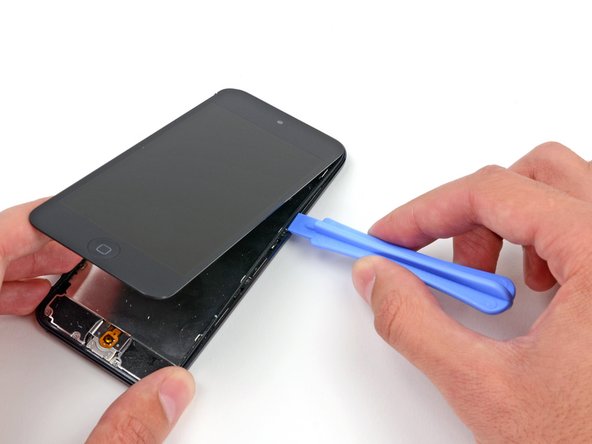
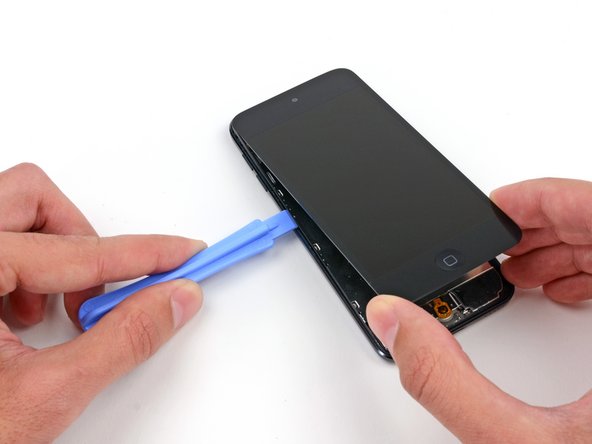
プラスチック製開口ツールを使って、ホームボタンスイッチをLCDプレートからこじ開けます。
-
ホームボタン裏側の接着剤を柔らかくするために、ヒートガンまたはヘアドライヤーが必要な場合があります。 使用する際は、常に低熱設定にしてください。
-
-
-
バッテリーを固定している2本の接着ストリップがあります。
-
iPodを裏返して、アルミ製iPodケースの裏側を温めます。バッテリーをオーバーヒートしないようご注意ください。
-
アルミケースを温める必要はありません。この作業中、常に熱くなった部分を指で触ることができ、熱すぎて触れなくなることはありません。
-
-
-
スパッジャーの平面側先端を使って、ディスプレイアセンブリ上のソケットから正面カメラをさっとめくります。
-
カメラモジュールをソケットに固定している接着剤が少量あります。しかしこれを剥がすには、それほど大きな力は必要ありません。 スパッジャーを使って、カメラモジュールの黒いプラスチックとカメラソケットの黒いプラスチックの間に挟み、それらを乖離します。
-


デバイスを再度組み立てるには、次の説明書の逆の順番で組み立ててください。
デバイスを再度組み立てるには、次の説明書の逆の順番で組み立ててください。
200 の人々がこのガイドを完成させました。

32 件のコメント
There is a major problem with the information provided here.
I followed the advice of the staff and purchased on eBay a replacement glass with tools for our cracked glass problem. I then began to follow the guide shown here.
The first major problem is that the suction cup will not pull off the glass. I tried the suction on various surfaces, and it's very strong. So no doubt, the problem is the fact that the glass is cracked. But that's the whole reason we're trying to take it apart. Secondly, if this guide doesn't apply to cracked glass, that should be clearly stated and possible another guide should be provided.
As it is now, removing the "glass" from the foamy "gasket" underneath was nearly impossible, and the local tech now tells me that in this condition, it's essentially worthless.
I don't know about Ipods, but I have worked on Samsung phones in their repair facility and to lift our digitizers from the lcd assembly you have to heat them up a little bit with a heat gun first. The heat loosens the adhesive tape that holds the digitizer down. Once that glue on the tape becomes pliable you should be able to lift it up. Hope this helps.
pau -
One more thing - ignore your local tech. Anything can be fixed unless its been sitting in water. They just want their service fee.
If you've got the confidence to try this repair (which it sounds like you do) and google and youtube too - you can do this.
pau -
I tried multiple times to remove the screen after heating it thoroughly with a hair drier. True, not a heat gun, but the display was well heated. The screen wouldn't budge with a suction cup a bit smaller than the one pictured above. My eureka moment was when I remembered the suction-cup on a car cellphone holder. The edges of the cup just exceed the size of the display, but I was able to turn the ring that "tightened" the suction. I pulled firmly on the base of the cellphone holder, and after a minute or so the display started pulling away. The key was being able to apply an even, slow pull.
Lance -
would Covering entire display with the packaging tape change anything?
Or you did & still thumbs down?
Prosit
PURCHASE -