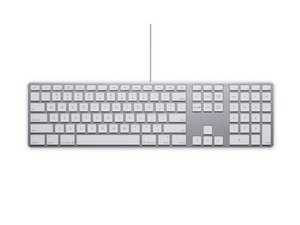
Here is my posting of the tear down.
You can follow my order of removal or just make sure you remove ALL screws I have outlined in this tear down.
"Tear down: Pro Keyboard (USB/M7803).
First, remove four (4) screws from back.
Located near USB ports, left and right (2).
Two (2) more, near adjuster on bottom, L and R.
FYI: DIYers, I used clear tape to hold these small screws as NOT to lose them. A small container for the key caps and other small pieces you will remove. A can of compressed air is an ideal item.
Next, front should release from keyboard.
Remove plastic insert around cursor & f13 to f15 keys. Find two (2) plastic strips @ top front of keyboard and remove.
Next, remove two (2) screws from holder for USB cable from front and remove holder.
Next, remove the following key caps: left shift key, two (2) key caps to right of "L" key and two (2) key caps to right of numeral five (5) on numerical keypad. After removal of key caps, you will find three (3) more screws to remove. At this point, bottom adjuster will come free, retain pin holders for adjuster.
Next, on back under top label is a screw to be loosened. I could NOT get screw to come free, so I put a piece of tape over to retain screw. The back/bottom will come free and a metal shield for USB controller.
I rinsed all clear plastic with cool water. NO Soap Required! I used a small damp tooth brush for between key caps and outer edges. Removed key caps where rinsed.
If your keyboard is REALLY dirty, you can rinse complete keyboard. NO Soap, Period!
Let any washed/rinsed items COMPLETELY air dry.
If you are in a rush to reassemble keyboard, use PLENTY of compressed air and shake lose any H2O.
One final word, be ginger when handling keyboard, do NOT force anything apart or you break part(s). If you are NOT familiar with this tear down, I suggest you take your keyboard to some one with more experience with such item(s). This tear down should work with similar kind(s) of keyboard(s) (Model #: M7803).
Good luck and have some fun with this tear down.
It could encourage you to tackle other kinds of repair(s), fixes and DIY project(s)."
Thx, one and all, James

 2
2  1
1